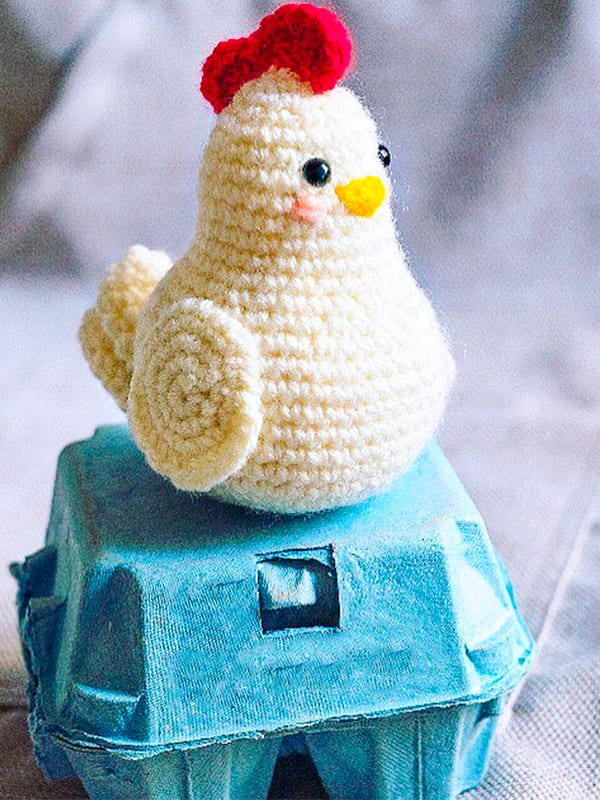
Hello everyone, today I shared the cute amigurumi keychain pattern for you. You can make a free amigurumi pattern very easily step by step. The white chicken amigurumi pattern is crocheted using white yarn. You can crochet the amigurumi chicken pattern using the color yarn you want. You can use it for decor in your home by crocheting in many different colors. You can create playmates for children by crocheting them. Thank you for the creation of the amigurumi chicken pattern. Don’t forget to add the amigurumi toy to your favorite list.
Keychain White Chicken PDF Amigurumi Free Pattern
Designer: @thecrochettisti
Abbreviations
St– stitch
Sc– single crochet
Inc– increase
Dec– decrease
Hdc– half double crochet
Dc– double crochet
Tr– treble crochet
Slst– slip stitch
Ch– chain
MR– magic ring
Materials
• White yarn
• Red yarn
• Yellow yarn
• Some left-over pink yarn
• Crochet hook size 3 mm
• Fiberfill for stuffing
• Two 6mm black safety eyes
• Tapestry needle
Level: advanced beginners
Let’s crochet the body part of the amigurumi chicken pattern 🙂
We will crochet the head of the chicken together with the body
Body
(White yarn)
Rnd 1. start 7 sc in a MR (7)
Rnd 2. inc in all 7 st (14)
Rnd 3. (sc, inc) repeat 7 times (21)
Rnd 4. (2 sc, inc) repeat 7 times (28)
Rnd 5. (3 sc, inc) repeat 7 times (35)
Rnd 6. sc around (35)
Rnd 7. (4 sc, inc) repeat 7 times (42)
Rnd 8-13. sc around (42)
Rnd 14. (4 sc, dec) repeat 7 times (35)
Rnd 15. (3 sc, dec) repeat 7 times (28)
Rnd 16. (5 sc, dec) repeat 4 times (24)
Rnd 17-22. sc around [24)
Rnd 23. (2 sc, dec) repeat 6 times [18)
Rnd 24. sc around (18)
Insert safety eyes between round 22 and 23 leaving a gap of 4 st
Rnd 25. (sc, dec) repeat 6 times [12)
Rnd 26. sc around (12)
Rnd 27. dec 6 times (6)
Stuff the body with some fiberfill.
Fasten off, leaving a long tail.
Using a yarn needle, weave the yarn tail through the front loop of each remaining st and pull tight to close.
Embroider the details at round 21, using yellow yarn for the beak and pink yarn for the cheeks. (like shown in the picture)
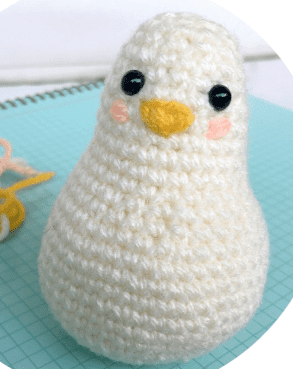
Let’s crochet the tail part of the amigurumi pattern 🙂
Tail
(White yarn)
Big piece
Rnd 1. start 6 sc in a MR (6)
Rnd 2. inc in all 6 st (12)
Rnd 3-5. sc around (12)
Rnd 6. (2 sc, dec) repeat 3 times (9)
Rnd 7-8. sc around (9)
Rnd 9. (sc, dec) repeat 3 times (6)
Rnd 10-11. sc around (6)
Slst to finish off leaving a long tail. Don’t suff.
Small piece
Rnd 1. start 6 sc in a MR (6)
Rnd 2. inc in all 6 st (12)
Rnd 3-4. sc around (12)
Rnd 5. (2 sc, dec) repeat 3 times (9)
Rnd 6. sc around (9)
Rnd 7. (sc, dec) repeat 3 times (6)
Rnd 8. sc around (6)
Slst to finish off leaving a long tail. Don’t suff
Sew the tail to the body, placing the small piece between round 8 and 9 and the big one between round 5 and 6
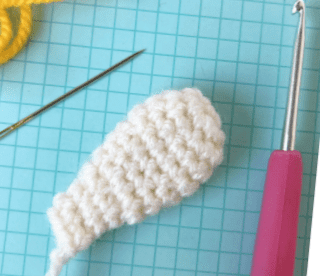
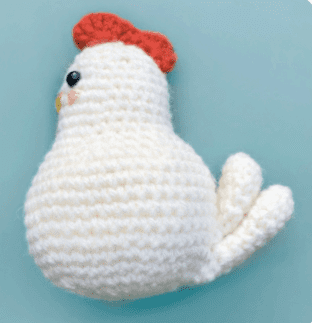
Let’s crochet amigurumi chicken’s cockscomb and wings 🙂
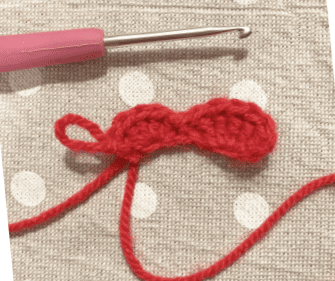
Cockscomb
(Red yarn)
Rnd 1. ch 11
Rnd 2. make 5 tr in the 4th chain from the hook, skip 2 st, slst in the next st, skip 1 st, 5 dc in the next st, skip 1 st, slst in the last st.
Fasten off leaving a long tail for sewing.
Place the cockscomb starting from the back of White chicken head (round 23)
Wings (x2)
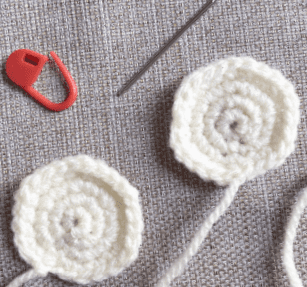
(White yarn)
Rnd 1. start 6 sc in a MR (6)
Rnd 2. inc in all 6 st (12)
Rnd 3. (sc, inc) repeat 6 times (18)
Rnd 4. (2 sc, inc) repeat 6 times (24)
Slst to finish off leaving a long tail.
Sew only half of the wings to the body.
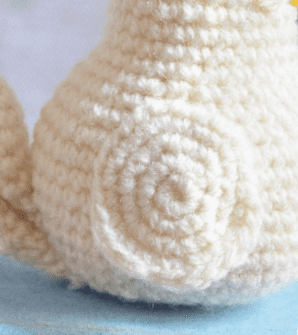
Congratulations, you have completed the Amigurumi chicken pattern. 🙂


 Bear
Bear Bunny
Bunny Cat
Cat Christmas
 Crochet doll
 Deer
Deer Other animals

