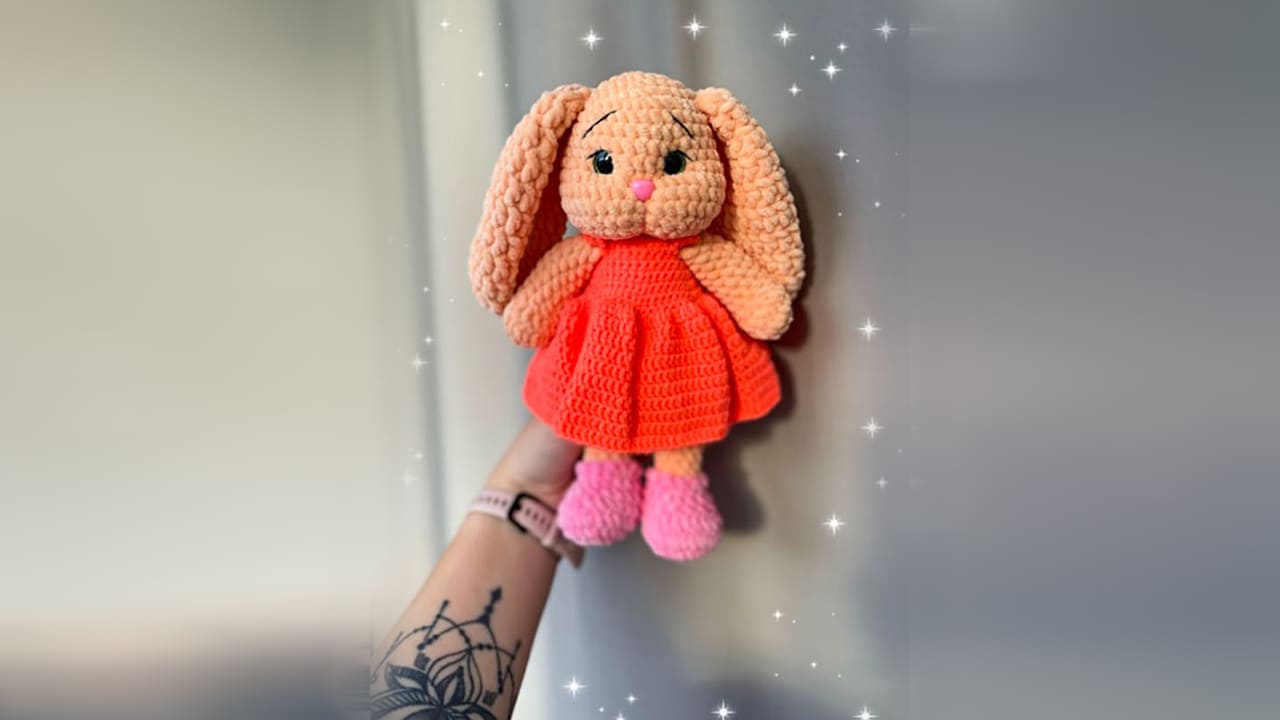
Hello everyone, my friends who love amigurumi, I greet you all from a beautiful summer day. Today we will work with you crochet bunny amigurumi toy pattern. First of all, I would like to thank the owner of the pattern. Thanks to the detailed step by step crochet bunny amigurumi pattern instructions, you will complete the free pattern without difficulty. It is an easy amigurumi pattern for beginners. The crochet bunny has a beautiful crochet dress, the designer preferred an orange yarn, but you can work with any color yarn you want. Make a nice summer holiday gift for your kids with this beautiful crochet bunny. Now I invite you to pattern instructions. Stay tuned for more free amigurumi patterns.
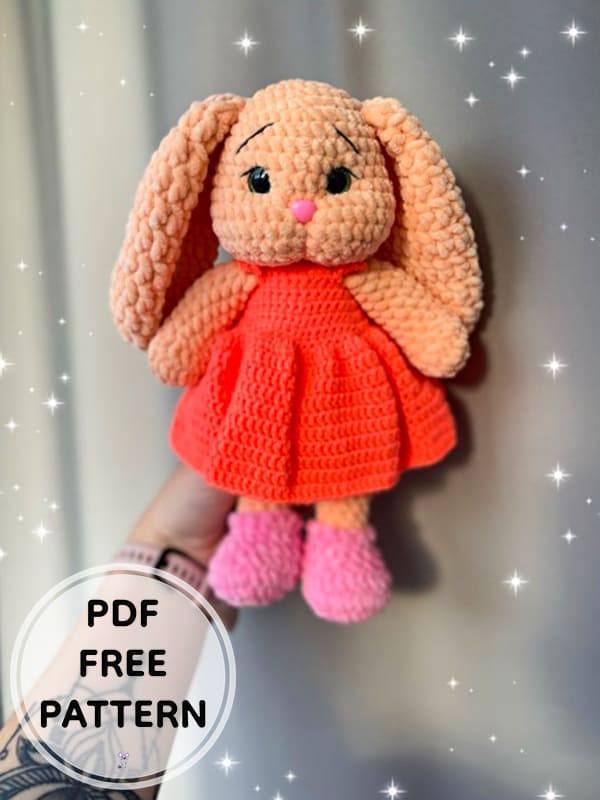
Crochet Bunny Maya PDF Amigurumi Free Pattern
Designer: bartova_hand_made
Necessary materials
– yarn YarnArt Dolce main color (773), slightly more than half of the skein.
– WolanS Bunny Baby yarn for socks (06) and for panties (02),
– Yarn, Children’s novelty, for dresses (351),
– eyes on a 12 mm safety mount,
– spout 4*11 mm,
– buttons 2 pcs,
– filler,
– hook 3.5 mm and for clothes 2 mm,
– scissors,
– glue,
– sewing needle
– threads for decorating and tightening the muzzle
Abbreviations
MR: Magic ring
Sc: Single crochet
Inc: Increase
Dec: Decrease
Ch: Chain
Slst: Slip stitch
Dc: Double crochet
BLO: Back loop only
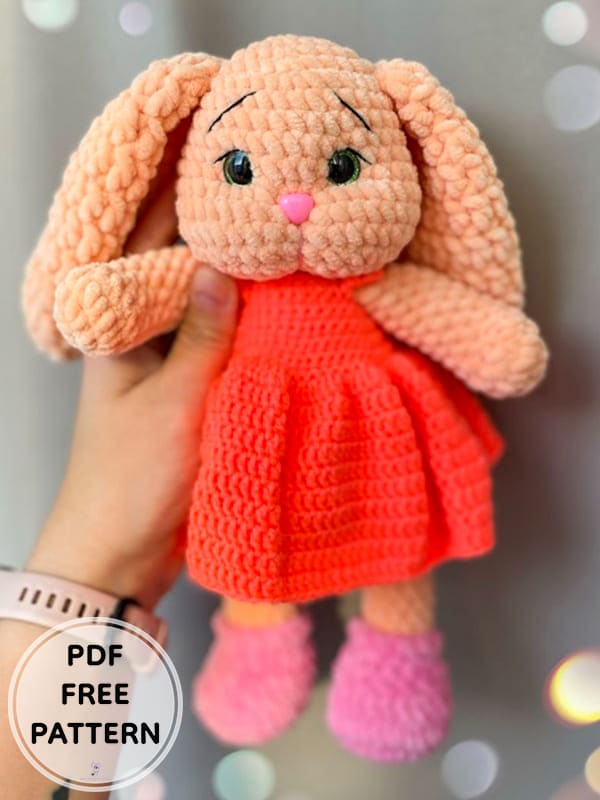
Head
Rnd 1. 6 sc in MR
Rnd 2. 6 inc (12)
Rnd 3. (1sc,inc)*6 (18)
Rnd 4. (2sc,inc)*6 (24)
Rnd 5. (3sc,inc)*6 (30)
Rnd 6. (4sc,inc)*6 (36)
Rnd 7-10. 36 sc (4 rows)
Rnd 11. 2sc, (2sc,inc)*4 6sc (inc,2sc)*4, 4sc (44)
Rnd 12-14. 44 sc (3 rows)
Rnd 15. 2sc, (2sc,dec)*4, 6sc, (dec,2sc)*4, 4sc (36)
Rnd 16. (4sc,dec)*6 (30)
Rnd 17. (3sc,dec)*6 (24)
Rnd 18. (2sc,dec)*6 (18)
Rnd 19. (1sc,dec)*6 (12)
Rnd 20. 6 dec (6)
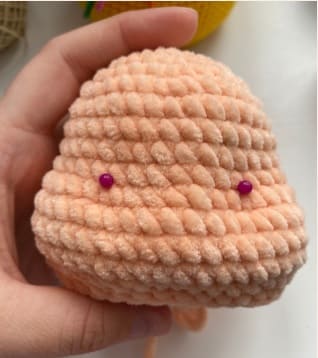
Tightening (continued):
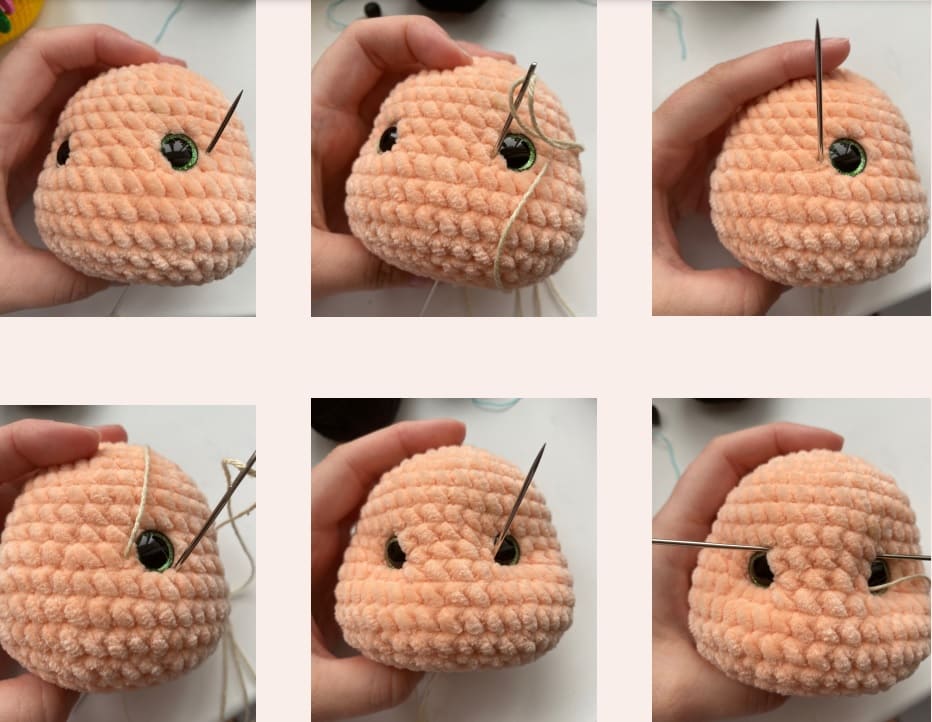
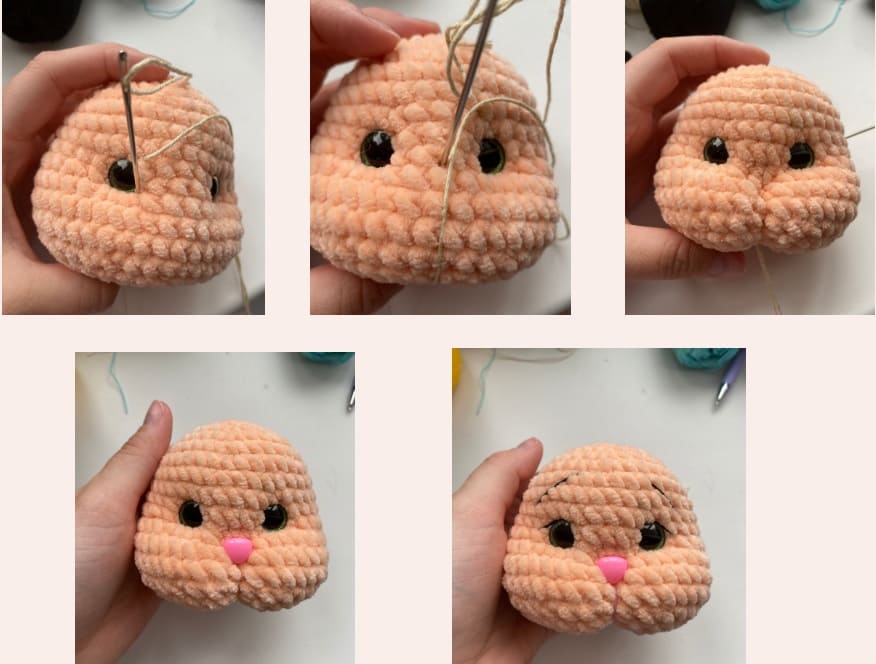
We make a tightening, as in the photographs, after being pulled, glue on the nose. And we make arrangements. embroider arrows, eyebrows.
Legs (Make 2)
We start with an additional color.
Rnd 1. 8 sc in MR
Rnd 2. 8 inc (16)
Rnd 3. (1sc,inc)*8 (24)
Rnd 4. (2sc,inc)*8 (32)
Rnd 5. 6sc, (1sc,dec)*6, 8sc (26)
Rnd 6. 8sc, 6dec, 6sc (20)
Rnd 7. dec, 16sc, dec (18)
Rnd 8. (1sc,dec)*6 (12)
Threads on the main color.
Rnd 9. BLO 12 sc
Rnd 10-16. 12 sc (7 rows)
Fill to the middle.
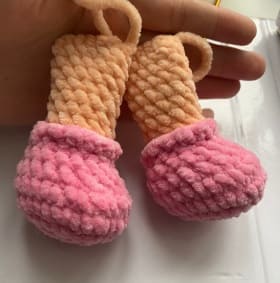
Fold in half and crochet 6 sc for both walls.
Return to the 7th row, attach the thread to the loops, which turned out when crocheting and crochet 12 sc.
Arm (Make 2)
Rnd 1. 6 sc in MR
Rnd 2. 6 inc (12)
Rnd 3. (1sc,inc)*6 (18)
Rnd 4. 6sc, 3dec, 6sc (15)
Rnd 5. 5sc, 3dec, 4sc (12)
Rnd 6-13. 12 sc (8 rows)
Fill to the middle.
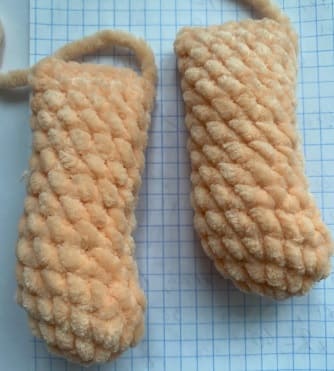
Fold the arm in half and crochet 6 sc for both row.
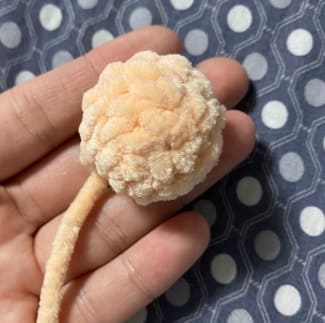
Tail
Rnd 1. 6 sc in MR
Rnd 2. 6 inc (12)
Rnd 3-4. 12 sc (2 rows)
Fill a little.
Leave the end for sewing.
Ears (Make 2)
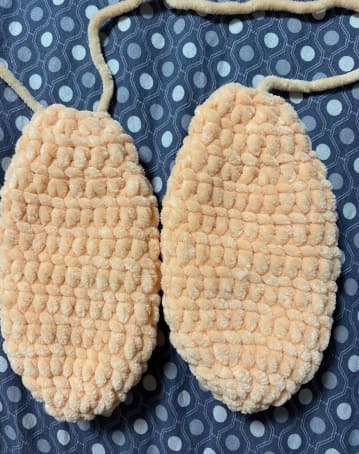
Ears crochet with columns with one crochet. Increases and we also make reductions dc.
Rnd 1. 8 dc in MR
Rnd 2. 8 inc, dc (16dc)
Rnd 3. (1dc, inc,dc)*8 (24dc)
Rnd 4-8. 24 dc (5 rows)
I have it turned out 5 rows of weak viscous, if you crochet tightly, then you need to add 3-4 more rows so that the ears are not short.
Rnd 9. (1dc, dec, dc)*8 (16dc)
Rnd 10. 16 dc
Rnd 11. 8dec, dc, 8dc, make slst.
Fasten the thread, leave the end for sewing.
Body
We crochet with an additional color (the color of the panties).
Rnd 1. 8 sc in MR
Rnd 2. 8 inc (16)
Rnd 3. (1sc,inc)*8 (24)
Rnd 4. (2sc,inc)*8 (32)
Fix the legs.
Rnd 5. 3sc, 6sc, with leg, 10sc, 6sc with leg, 7sc (32)
Rnd 6. (3sc,inc)*8 (40)
Rnd 7. 40 sc
We make a change of thread to the main color.
Rnd 8. 40 sc
Rnd 9. (3sc,dec)*8 (32)
Rnd 10-15. 32 sc (6 rows)

Rnd 16. (2sc,dec)*8 (24)
Rnd 17-19. 24 sc (3 rows)
Rnd 20. (2sc,dec)*6 (18)
Rnd 21. 2sc, 6sc with a arm, 4sc, 6sc with a arm, (18)
Rnd 22. (1sc,dec)*6 (12)
Fasten the thread. Leave a long end for head sewing.
Assembly
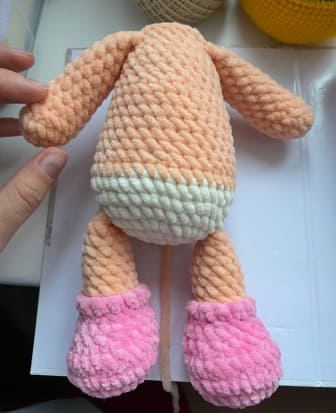
• Sew the head to the body.
• Sew on a ponytail.
• Sew on the ears.
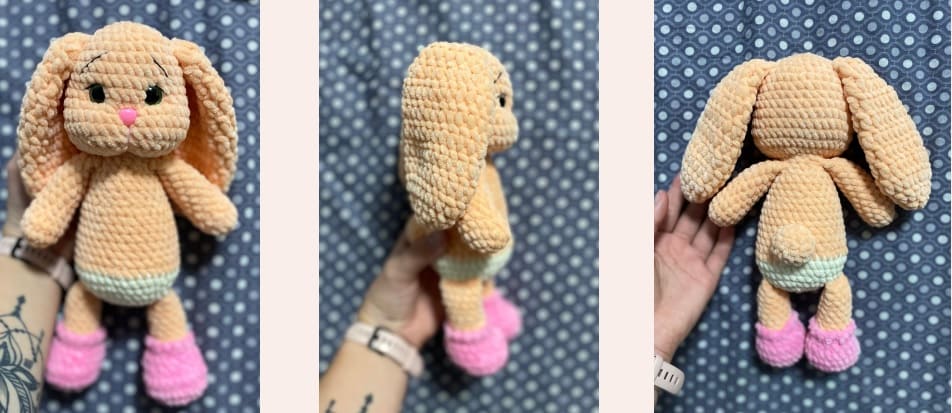
• Next, the bunny needs to be dressed.
The dress
For the dress you will need a 2 mm hook and yarn.
Rnd 1. Make a chain of 35 ch,
Rnd 2. From the 2nd loop from the hook, crochet 34 sc, ch,
Rnd 3. 4 sc, 8 ch, skip 8 sc, 8 sc, 8 ch, skip 8 sc, 4 sc, ch,
Rnd 4. 34sc, ch,
Rnd 5. inc, 32sc, inc, ch- 36sc,
Rnd 6. inc, 34sc, inc, ch- 38sc,
Rnd 7. (5sc,inc)*6, ch- 44sc,
Rnd 8. 44 sc, ch,
Rnd 9. (6sc,inc)*6, ch- 50sc,
Rnd 10. 50 sc, ch,
Rnd 11. (7sc,inc)*6, ch- 56sc,
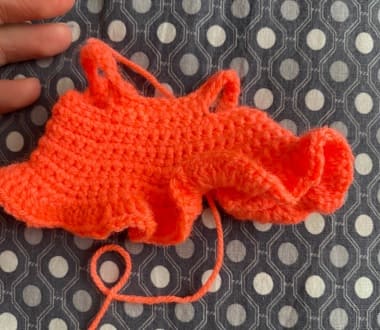
Rnd 12. (8sc,inc)*6, ch- 62sc,
Rnd 13. (9sc,inc)*6, ch- 68sc,
Rnd 14. 68 inc, dc,
Rnd 15-23. 136 dc (9 rows).
Connect the thread, cut and hide.
Next, you need to tie the back and straps.
Attach the thread (where the arrow is in the photo).
1 sc, 4 ch, sl-st, 3 sc, 4 ch, sl-st. Should get 2 holes for buttons.
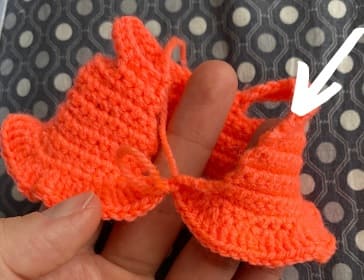
Next, tie to the end of the sc.
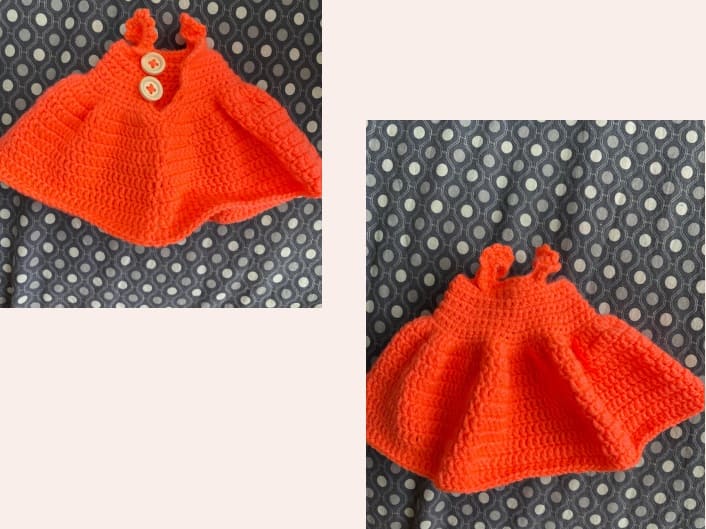
Hide the thread, sew buttons.
Tie straps.
Attach thread, 1 sc, 3 ch, 1 sc (I got 10 reps).
Tie the sleeve only from corner to corner, the bottom is not tie.


 Bear
Bear Bunny
Bunny Cat
Cat Christmas
 Crochet doll
 Deer
Deer Other animals

