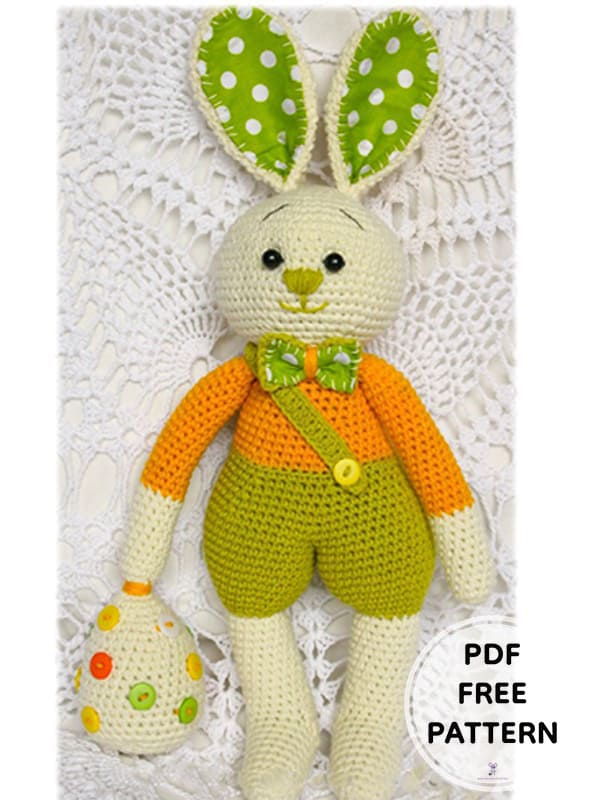
Hello everyone, today I brought a very cute crochet easter bunny pattern for you. First of all, I would like to thank the owner of the pattern for the crocheted amigurumi bunny. Thanks to the very detailed step by step crochet pattern instructions, you will be able to complete this cute crochet bunny without difficulty. The crochet toy bunny is holding a beautiful easter egg. He also welcomes spring very nicely with his trousers and bow tie. Now I invite you to embroider this cute crochet bunny. For more amigurumi patterns, please don’t forget to open notifications and follow us.
Spring Easter Crochet Bunny PDF Amigurumi Free Pattern
Designer: Diana Patskun
Materials
1. Yarn Art Jeans milky, light green and yellow (50% cotton, 50% acrylic)
2. Hook number: 3 mm
3. Filler – holofiber
4. Two black plastic eye beads
5. Thick sewing needle
6. Buttons for decorating an easter egg
Abbreviations
Sc– Single crochet
MR– Magic ring
Inc– Increase
Dec– Decrease
Ch– Chain
Dc– Double crochet
Hdc-FLO – Half Double Crochet In The Front Loop Only
Hdc-BLO – Half double crochet back loop only
Legs and Body
Rnd 1. 6 sc in MR
Rnd 2. 6 inc (12)
Rnd 3. 1sc,inc (18)
Rnd 4-11. 18 sc
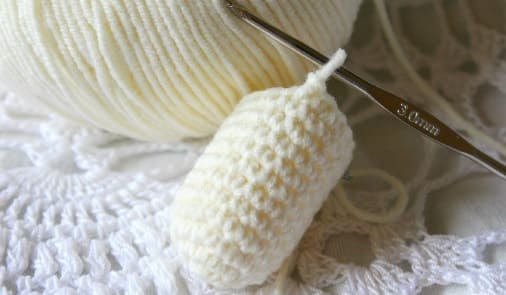
Next, crochet like a heel for a sock, 6 sc, connect column in 7th st, pick up st
Turning chain clockwise.
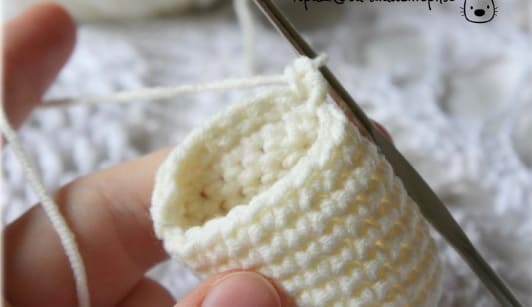
– 7 sc, connect column in the 8th loop, lifting loop
We wrap crocheting.
– 8 sc, connect column in the 9th loop, lifting loop
We wrap crocheting.
– 9 sc, connect column in the 10th loop, lifting loop
We wrap crocheting.
-10 sc, connect column in the 11th loop, lifting loop
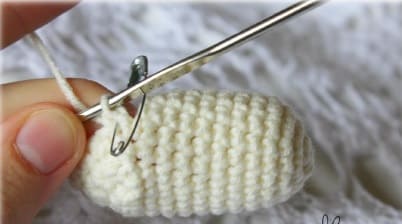
We wrap the crocheting, put a marker and continue to crochet in a circle. It should turn out 18 sc.
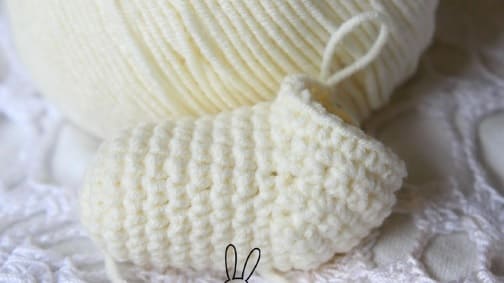
Rnd 12-24. 18 sc
Change the color of the thread to lettuce.
Rnd 25. we crochet for the hdc-FLO 18 sc
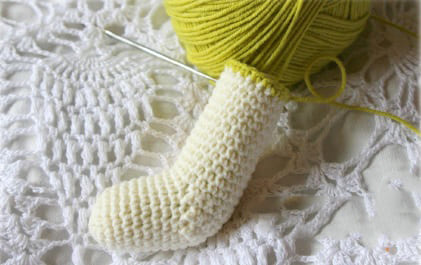
Rnd 26. 2sc,inc (24)
Rnd 27. 24 sc
Rnd 28. 3sc,inc (30)
Rnd 29. 30 sc
Rnd 30. 4sc,inc (36)
Rnd 31-35. 36 sc
We finish crocheting, cut the thread. We crochet two parts.
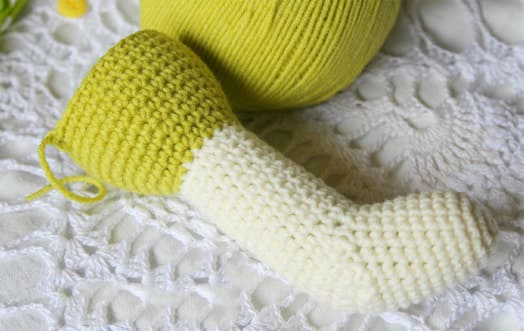
We connect the paws together in the middle with 6 columns without a crochet.
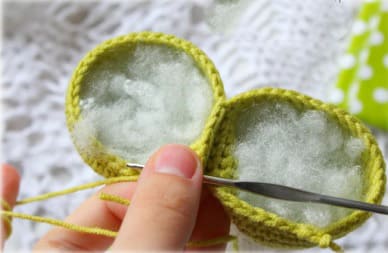
We put a marker, continue to crochet in a circle, it should turn out 60 sc.
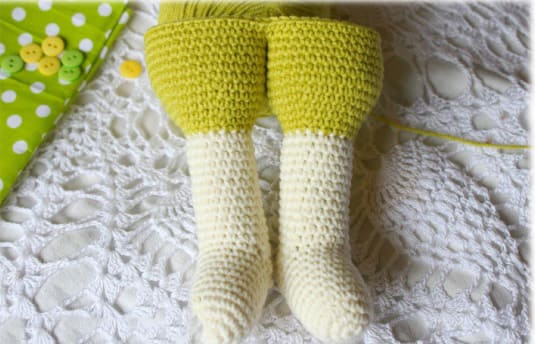
Rnd 36-37. 60 sc
Rnd 38. 8sc,dec (54)
Rnd 39. 54 sc
Rnd 40. 7sc,dec (48)
Rnd 41. 48 sc
Rnd 42. 6sc,dec (42)
Rnd 43. 42 sc
Change the thread color to yellow.
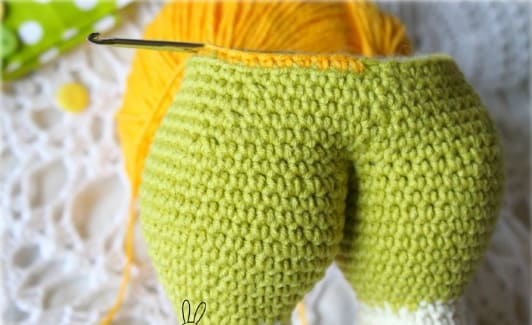
Rnd 44. Crochet for the hdc-BLO 42 sc
Rnd 45. 42 sc
Rnd 46. 5sc,dec (36)
Rnd 47-49. 36 sc
Rnd 50. 4sc,dec (30)
Rnd 51-53. 30 sc
Rnd 54. 3sc,dec (24)
Rnd 55-57. 24 sc
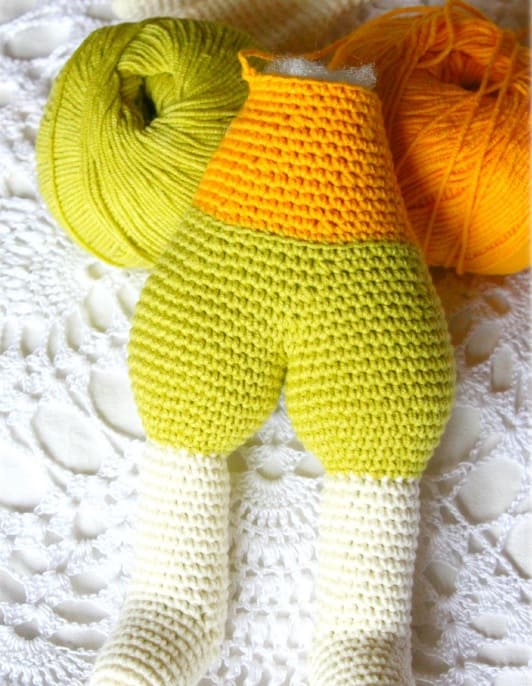
Head
Rnd 1. 6 sc in MR
Rnd 2. 6 inc (12)
Rnd 3. 1sc,inc (18)
Rnd 4. 2sc,inc (24)
Rnd 5. 3sc,inc (30)
Rnd 6. 4sc,inc (36)
Rnd 7. 5sc,inc (42)
Rnd 8. 6sc,inc (48)
Rnd 9. 7sc,inc (54)
Rnd 10-18. 54 sc
Rnd 19. 7sc,dec (48)
Rnd 20. 6sc,dec (42)
Rnd 21. 5sc,dec (36)
Rnd 22. 4sc,dec (30)
Rnd 23. 3sc,dec (24)
Rnd 24. 2sc,dec (18)
Rnd 25. 1sc,dec (12)
Rnd 26. decrease until the hole closes.
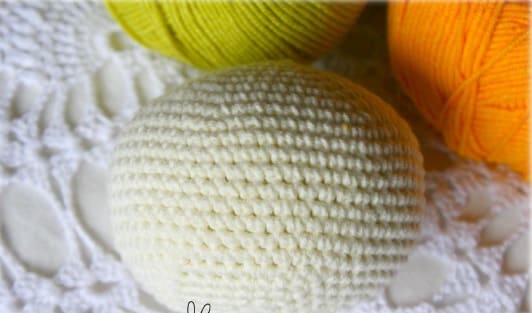
Ears (Make 2)
Rnd 1. 6 sc in MR
Rnd 2. 6 inc (12)
Rnd 3. 12 sc
Rnd 4. 1sc,inc (18)
Rnd 5. 18 sc
Rnd 6. 2sc,inc (24)
Rnd 7-16. 24 sc
Rnd 17. 2sc,dec (18)
Rnd 18-23. 18 sc
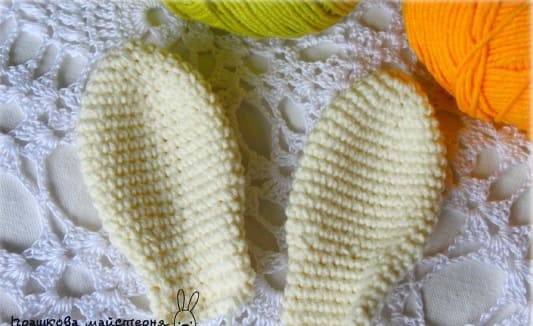
Put together, crochet with single crochets.
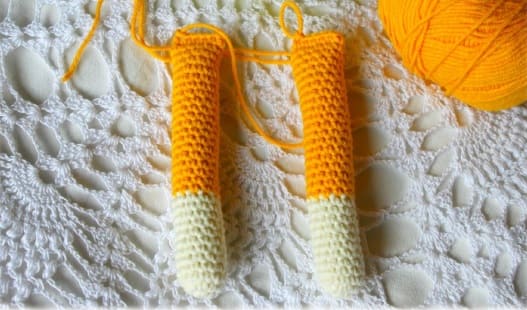
Arms (Make 2)
We begin to crochet with a thread of milky color.
Rnd 1. 6 sc in MR
Rnd 2. 6 inc (12)
Rnd 3-12. 12 sc
Change the thread to yellow, continue crocheting.
Rnd 13-32. 12 sc
Put together, crochet with single crochets.
Tail
Rnd 1. 6 sc in MR
Rnd 2. 6 inc (12)
Rnd 3. 1sc,inc (18)
Rnd 4. 2sc,inc (24)
Rnd 5-7. 24 sc
Rnd 8. 2sc,dec (18)
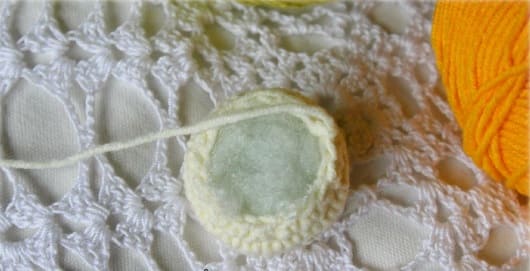
Let’s start assembling the toy.
Sew on the tail.
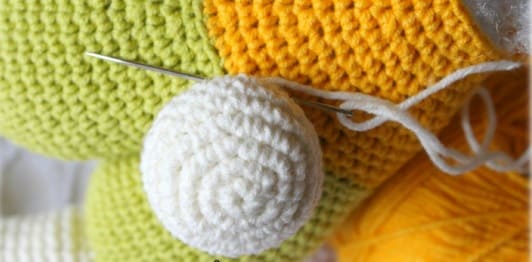
Assembly
Sew on the head.
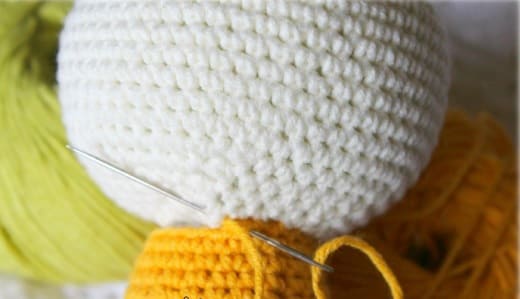
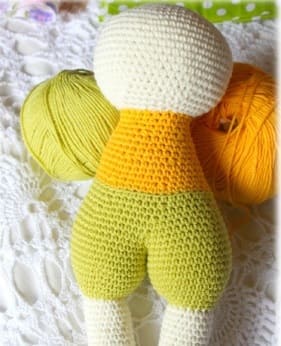
Sew on the front paws.
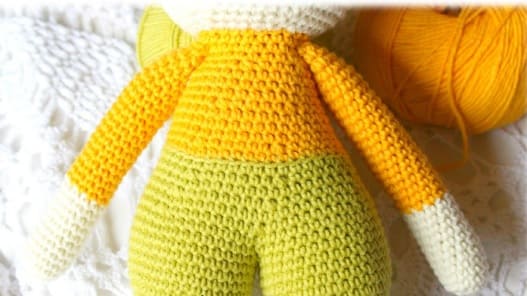
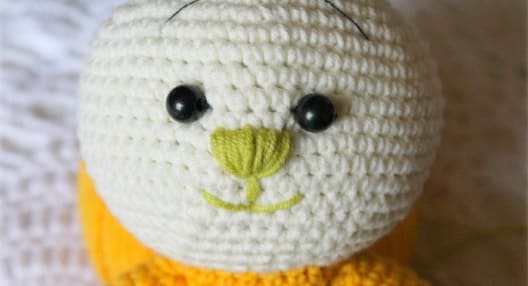
We make a muzzle. We embroider a nose.
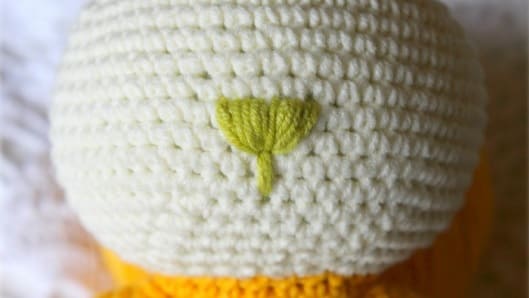
Sew on the eyes. We embroider eyebrows.
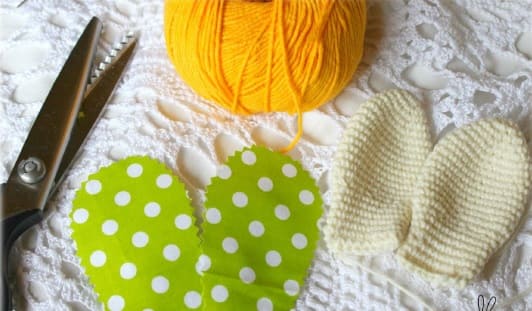
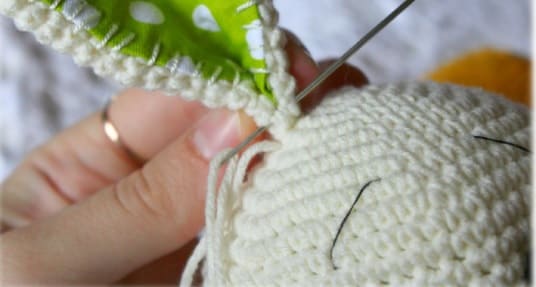
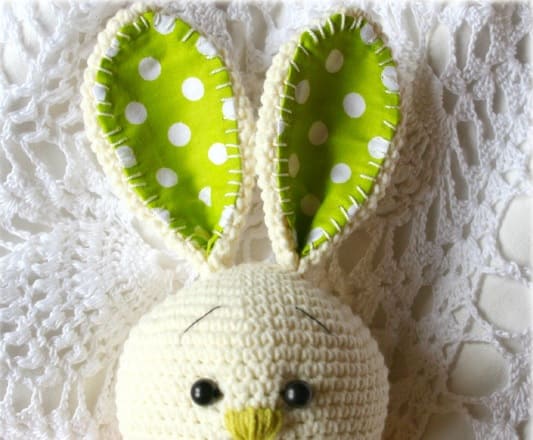
Cut out two pieces of fabric with serrated scissors. Sew to the ears.
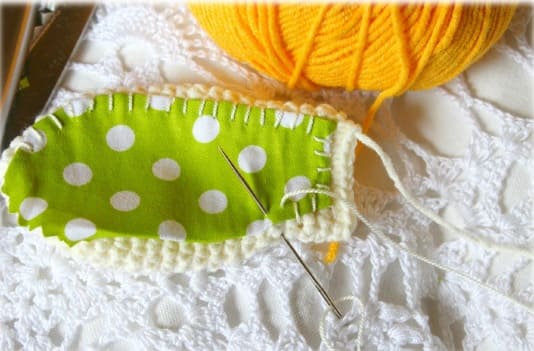
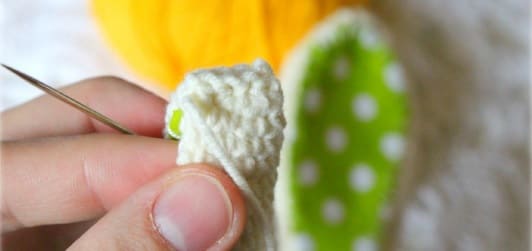
We fold the ear in this way, stitch it and sew it to the head.
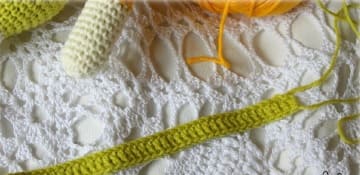
We crochet a strip of double crochets of the desired length for the straps.
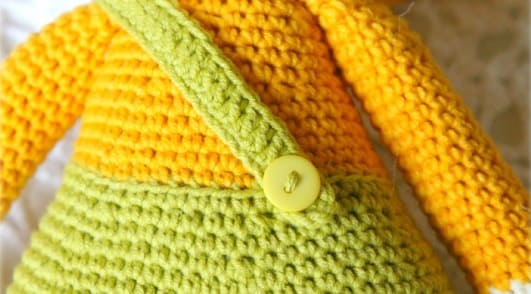
We sew. Decorate with a button.
We crochet a butterfly bow. We sew with fabric and sew on the neck.
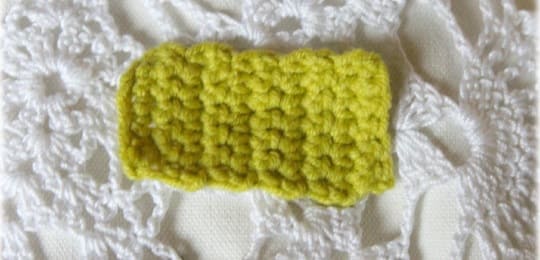
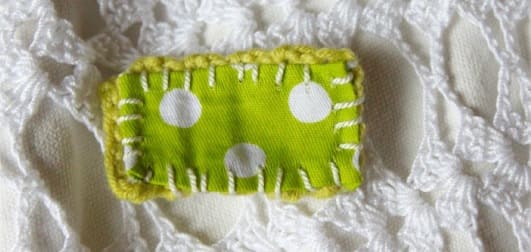
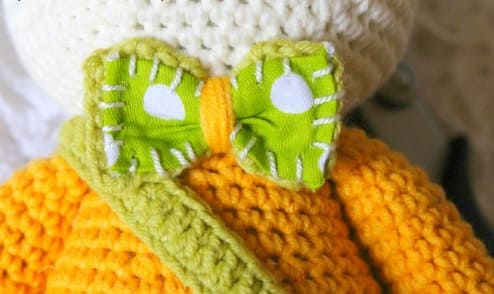
We crochet an egg:
Rnd 1. 6 sc in MR
Rnd 2. 6 inc (12)
Rnd 3. 12 sc
Rnd 4. 1sc, inc (18)
Rnd 5. 18 sc
Rnd 6. 2sc, inc (24)
Rnd 7. 24 sc
Rnd 8. 3sc, inc (30)
Rnd 9-11. 30 sc
Rnd 12. 4sc, inc (36)
Rnd 13-18. 36 sc
Rnd 19. 4sc, dec (30)
Rnd 20. 3sc, dec (24)
Rnd 21. 2sc, dec (18)
Rnd 22. 1sc, dec (12)
Rnd 23. decrease until the hole closes.
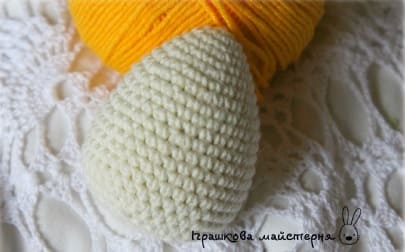
Decorate the egg with buttons.
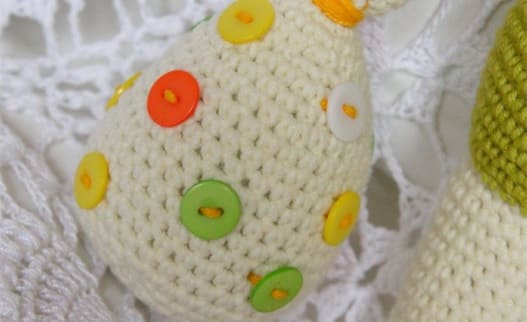
The spring Easter bunny is ready!!!
Happy crocheting everyone!


 Bear
Bear Bunny
Bunny Cat
Cat Christmas
 Crochet doll
 Deer
Deer Other animals