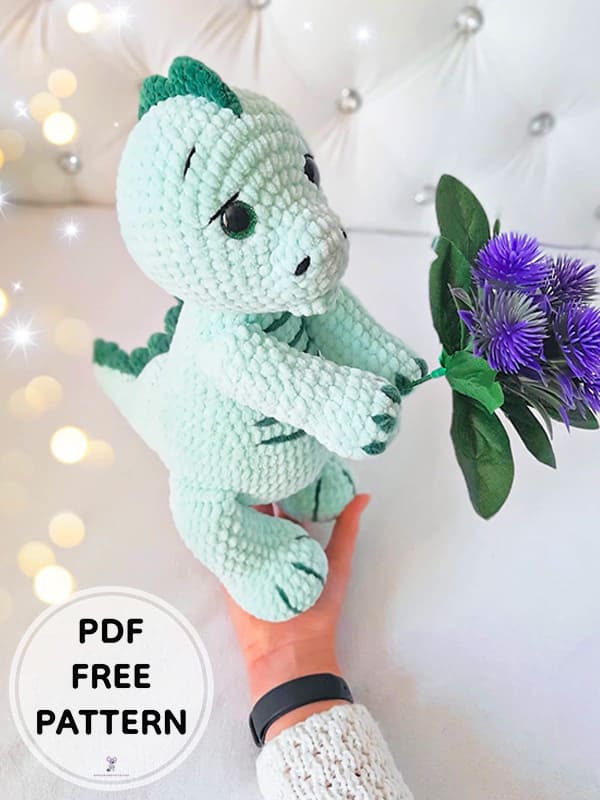
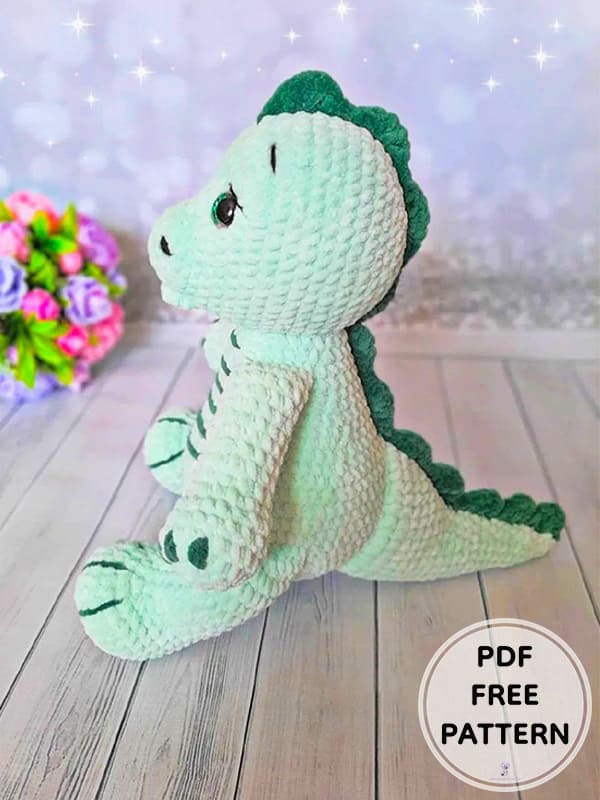
Hello everyone, my friends who love amigurumi, today we will work with you crochet dinosaur amigurumi pattern. First of all, many thanks to the owner of the pattern. With detailed step by step crochet pattern instructions, you will complete the crochet dinosaur amigurumi toy pattern quite easily. To make a beautiful handmade plush crochet dinosaur toy for your kids, all you have to do is follow the given instructions. Also, the necessary materials for making amigurumi are in the list of instructions, I wish you success. Don’t forget to follow us for more free amigurumi patterns.
Crochet Plush Dinosaur PDF Amigurumi Free Pattern
Designer: fluffy_happy_world
Abbreviations
MR– Magic ring
Ch– Chain
Sl st– Slip stitch
Sc– Single crochet
Inc– Increase
Dec– Decrease
BLO– Back loop only
Materials
• 1.5 skeins of Himalaya Dolphin baby (or any other equivalent) light green
• A little thread of a different color
• Black thread for decorating the muzzle
• Eyes on a secure mount (I have 16 mm)
• Hook
• Needle for stitching parts
Head
Rnd 1. 5 ch, start crocheting from the second loop from the hook – inc, 2 sc, 4 sc in the last loop, 2 sc, inc (12)
Rnd 2. inc, 4 sc, 2 inc, 4 sc, inc (16)
Rnd 3. inc, 6 sc, 2 inc, 6 sc, inc (20)
Rnd 4. 20 sc (20)
Rnd 5. 2 sc, б inc, 12 sc (26)
Rnd 6. 2 sc, (1 sc, inc)*6, 12 sc (32)
Rnd 7. 7 sc, 8 inc, 17sc (40)
Rnd 8. 7 sc, (1 sc, inc)*8, 17 sc (48)
Rnd 9-16. 48 sc, 8 rows (48)
Rnd 17. (6 sc, dec)*6 (42)
Rnd 18. (5 sc, dec)*6 (36)
Rnd 19. (4 sc, dec)*6 (30)
Rnd 20. (3 sc, dec)*6 (24)
Rnd 21. (2 sc, dec)*6 (18)
Rnd 22. (1 sc, dec)*6 (12)
Rnd 23. 6 dec.
Insert eyes between 6 and 7 side by side.
Muzzle
Rnd 1. 7 sc in MR
Rnd 2. 1 ch, turn and 7 sc in next side
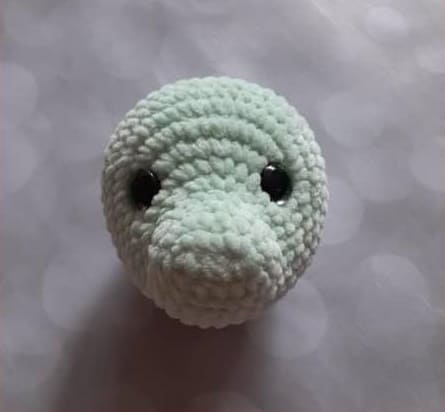
Sew to 6th row.
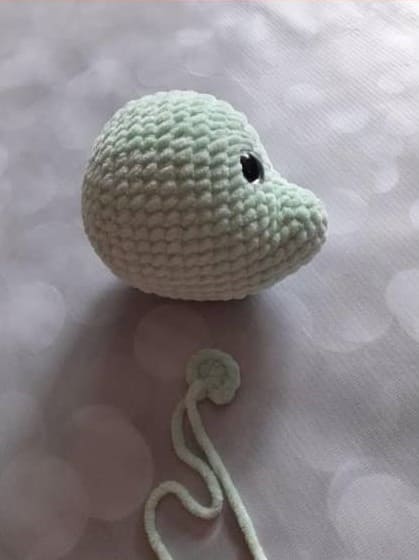
Muzzle shaping.
With a black thread, first we embroider the eyelids, then the eyebrows (between 10 and 11 next).
The same thread can be used to embroider the nostrils. Each of 2-3 stitches, depending on the type of thread.
Upper paws
2 details.
Rnd 1. 6 sc in MR
Rnd 2. 6 inc (12)
Rnd 3. (1 sc, inc)*6 (18)
Rnd 4-6. 18 sc (18)
Rnd 7. (2 sc, dec)*4, 2 sc (14)
Rnd 8-16. 14 sc, 9 rows (14)
Rnd 17. Fold in half, crochet 7 sc for both walls.
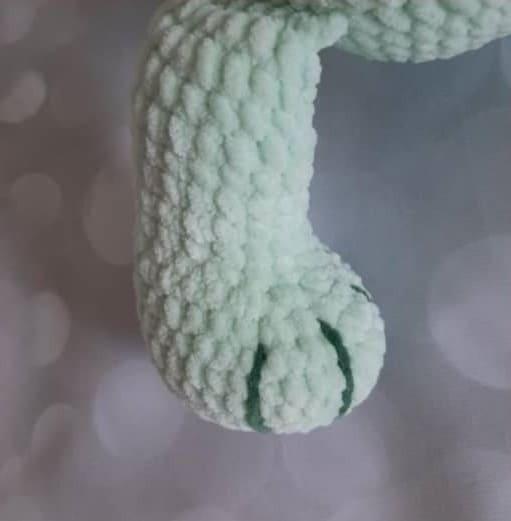
Embroider fingers with a thread of a different color.
Lower paws
2 details.
Rnd 1. 6 sc in MR
Rnd 2. б inc (12)
Rnd 3. (1 sc, inc)*6 (18)
Rnd 4. (2 sc, inc)*6 (24)
Rnd 5. (3 sc, inc)*6 (30)
Rnd 6. 30 sc BLO (30)
Rnd 7. 30 sc (30)
Rnd 8. 11 sc, dec, 1 sc, dec, 1 sc, dec, 11 sc (27)
Rnd 9. 9 sc, dec, 1 sc, dec, 1 sc, dec, 10 sc (24)
Rnd 10. 8 sc, 4 dec, 8 sc (20)
Rnd 11. 6 sc, dec, 4 sc, dec, 6 sc (18)
Rnd 12-19. 18 sc, 8 rows (18)
Rnd 20. Fold in half, crochet 9 sc for both walls
Embroider fingers with a thread of a different color.
Body
Rnd 1. 6 sc in MR
Rnd 2. 6 inc (12)
Rnd 3. (1sc,inc)*6 (18)
Rnd 4. (2sc,inc)*6 (24)
Rnd 5. (3sc,inc)*6 (30)
Rnd 6. (4sc,inc)*6 (36)
Rnd 7. (5sc,inc)*6 (42)
Rnd 8. (6sc,inc)*6 (48)
Rnd 9. (7sc,inc)*6 (54)
Rnd 10. (8sc,inc)*6 (60)
Rnd 11. 60 sc (60)
Next, crochet the lower paws.
Rnd 12. 11 sc, 9 sc with the first foot, 20 sc, 9 sc with the second foot, 11 sc (60)
Rnd 13-15. 60 sc (60)
Rnd 16. (8 sc, dec) * 6 (54)
Rnd 17. (7 sc, dec) * 6 (48)
Rnd 18. (6 sc, dec) * 6 (42)
Rnd 19. 42 sc (42)
Rnd 20. (5 sc, dec) * 6 (36)
Rnd 21-22. 36 sc (36)
Rnd 23. (4 sc, dec) * 6 (30)
Rnd 24-25. 30 sc (30)
In the 26th row we crochet the upper paws symmetrically with the upper.
Rnd 27. (3 sc, dec) * 6 (24)
Rnd 28. 24 sc (24)
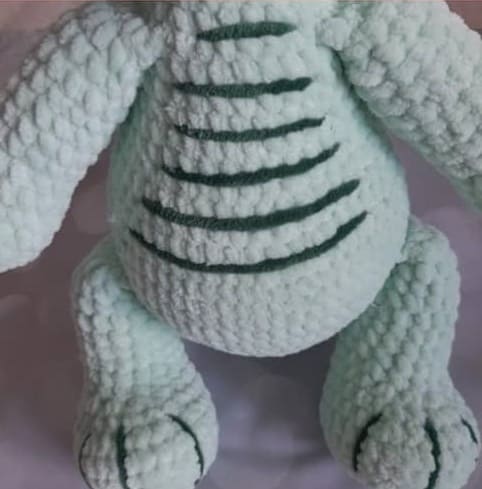
On the body, you can embroider stripes with a thread of a different color.
Tail
Rnd 1. 6 sc in MR
Rnd 2. 6 sc (6)
Rnd 3. (1sc,inc)*3 (9)
Rnd 4. (2sc,inc)*3 (12)
Rnd 5-6. 12 sc (12)
Rnd 7. (3sc,inc)*3 (15)
Rnd 8-9. 15 sc (15)
Rnd 10. (4sc,inc)*3 (18)
Rnd 11. 18 sc (18)
Rnd 12. (5sc,inc)*3 (21)
Rnd 13. 21 sc (21)
Rnd 14. (4sc,inc)*3 (24)
Rnd 15. 24 sc (24)
Rnd 16. 11sc, 2inc, 11sc (26)
Rnd 17. 12sc, 2inc, 12sc (28)
Rnd 18. 13sc, 2inc, 13sc (30)
Rnd 19. 14sc, 2inc, 14sc (32)
Rnd 20. 15sc, 2inc, 15sc (34)
Rnd 21. 16sc, 2inc, 16sc (36)
Rnd 22. 17sc, 2inc, 17sc (38)
Rnd 23. 18sc, 2inc, 18sc (40)
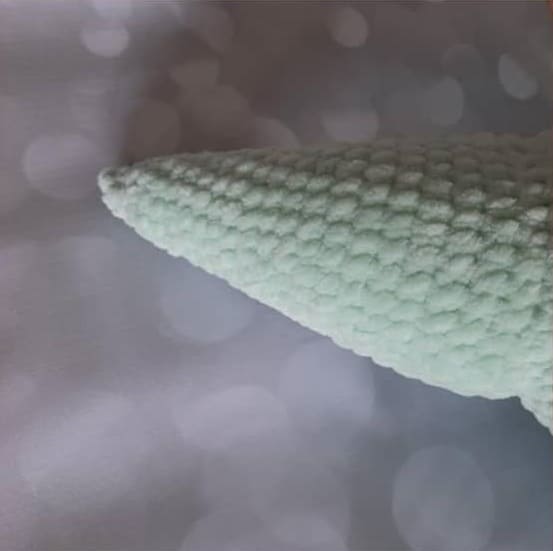
Sew the tail to the body so that Dino can stand by himself leaning on it.
Where 2 increases were made – this is the top.
Crest
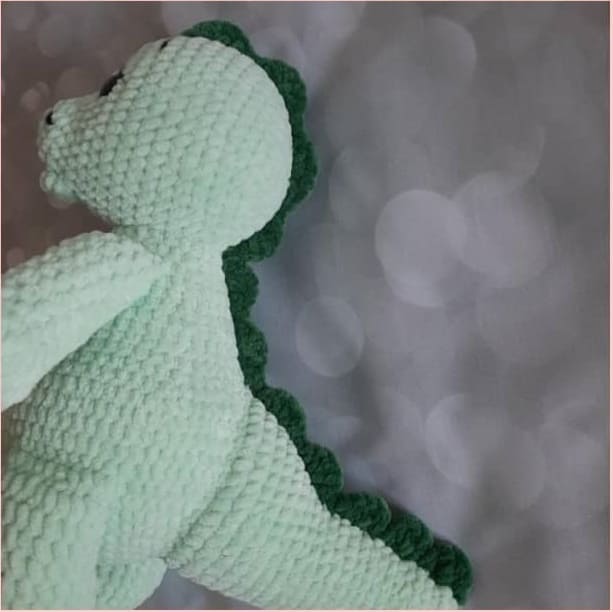
Exactly in the middle of the head (beginning between the eyebrows), body and tail, outline a straight line. On it, crochet a row with connecting posts, a turn.
Scheme of one comb 1 hdc, 3 dc in one loop, 1 hdc, sl st.


 Bear
Bear Bunny
Bunny Cat
Cat Christmas
 Crochet doll
 Deer
Deer Other animals



Thank you so much! I’ve made mine and looks great!