Hello everyone, how are you?
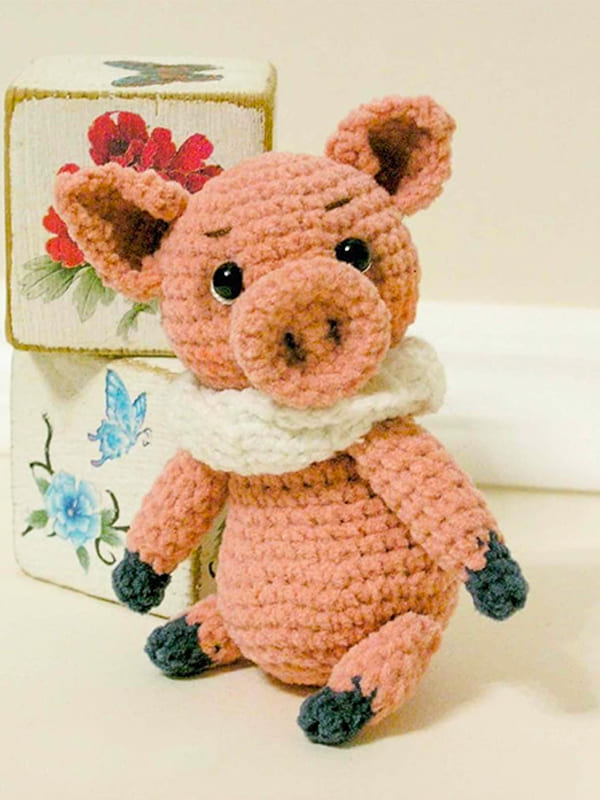
The weather got colder, we can say that we started to make crochet amigrumi at home. Today I bring you a very cute crochet piglet pattern. First of all, I would like to thank the owner of the pattern for this cute crochet piglet amigurumi toy pattern. Crochet pig is very easy to make, even if the beginners find it difficult, you will be able to complete this pattern thanks to the detailed step by step pattern instructions. A great free pattern for you if you want to gift a beautiful handmade crochet amigurumi pig to your kids or loved ones. Stay tuned for more crochet free amigurumi patterns.
Crochet Piglet PDF Amigurumi Free Pattern
Designer: svetilinik_s
Materials
• Nubuc yarn in pink and any dark color for hooves
• Hook 1.25;
• Synthetic winterizer;
• Discs 15 mm, 2 pieces;
• T-shaped cotter pin, 1 piece;
• Wire;
• Glue Moment;
• 2 half beads;
• White felt;
• Acrylic paints for tinting.
Abbreviations
MR- Magic ring
Sc- Single crochet
Inc- Increase
Dec- Decrease
The toy is connected in a spiral, use a marker.
When using these materials, the height of the toy is 8 cm while standing.
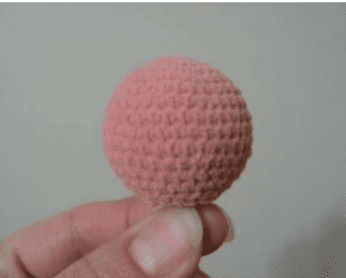
Head
6 sc in MR (6)
1 rnd: 6 inc (12sc)
2 rnd: (sc, inc)* 6 (18sc)
3 rnd: (2 sc, inc)* 6 (24sc)
4 rnd: (3 sc, inc)* 6 (30sc)
5 rnd: 30 sc (30)
6 rnd: (4 sc, inc)* 6 (36sc)
7-10 rnds: 36 sc (4 rows)
11 rnd: (4 sc, dec)* 6 (30sc)
12 rnd: 30 sc (30)
13 rnd: (3 sc, dec)* 6 (24sc)
We stuff the head tightly, but not to a stone state, put a cotter pin.
14 rnd: (2 sc, dec) * 6 18 sc, decrease to the end, fasten the thread, hide.
Heels (Nose)
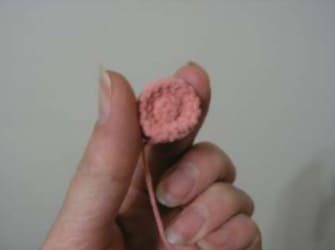
5 sc in MR
1 rnd: 5 inc (10sc)
2 rnd: (sc, inc)*5 (15sc)
3 rnd: we crochet by the front wall of the loop (15sc)
4-5 rnds: 15 sc (2 rows)
6 rnd: 15 sc together with the back wall 3 rows
7 rnd: 15 sc, fasten the thread and leave for sewing.
Ears (Make 2)
We crochet in rotary rows, making at the beginning of each row 1 ch for lifting.
2 ch in the second loop from the hook we crochet 2sc
1 rnd: 2 sc
2 rnd: 2 inc (4sc)
3 rnd: 4 inc (8sc)
4-5 rnds: 8 sc, tie around, fasten the thread and leave it for sewing.
We make out the muzzle
Sew on the heels, follow the photo, add a little padding.
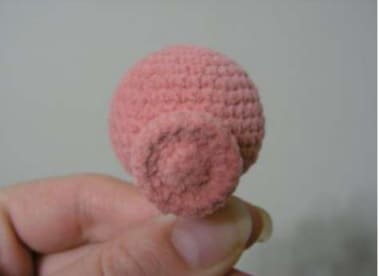
We make small tightenings for the eyes, for this we retreat from the center of the sewn heel to the right and to the left, approximately 3-4 sc. We embroider “nostrils” with a dark thread, or you can simply tint, we embroider the eyebrows with the same thread. We glue the eyes, you can cut out semicircles from felt for proteins. Sew on the ears in a semicircle, tucking the tips.

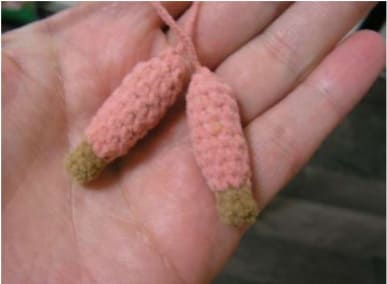
Upper legs
In dark color:
6 sc in MR (6)
1-2 rnds: 6 sc
Change the thread to pink
3 rnd: (inc, sc)* 3 (9sc)
4-10 rnds: 9 sc (7 rows), fill lightly, decrease to the end, fasten the thread, hide, at the end of one the feet leave the thread for sewing.
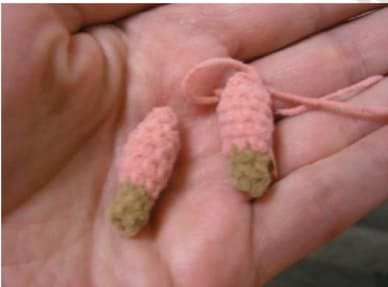
Lower legs
In dark color:
6 sc in MR (6)
1-2 rnds: 6 sc
Change the thread to pink
3 rnd: (inc, sc) * 3 (9sc)
4-7 rnds: 9 sc (4 rows), fill lightly, decrease to the end, fasten the thread, hide, at the end of one the feet, leave the thread for sewing.
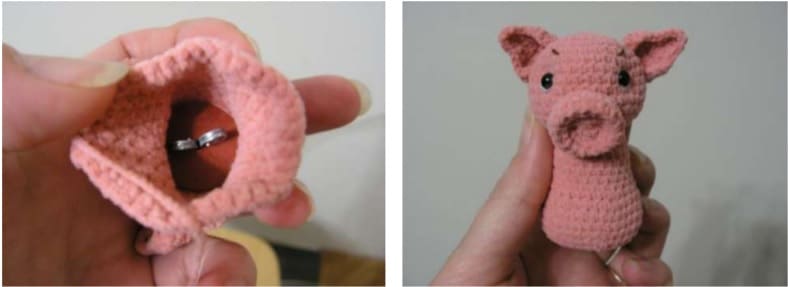
Body
6 sc in MR (6)
1 rnd: 6 inc (12sc)
2 rnd: (sc, inc)*6 (18sc)
3 rnd: 18 sc (18)
4 rnd: (2 sc, inc)* 6 (24sc)
5-9 rnds: 24 sc, put a cotter pin.
10 rnd: (3 sc, inc)* 6 (30sc)
11 rnd: (4 sc, inc)* 6 (36sc)
12-14 rnds: 36 sc
15 rnd: (4 sc, dec)* 6 (30sc)
16 rnd: (3 sc, dec)* 6 (24sc)
17 rnd: (2 sc, dec)* 6 (18sc)
18 rnd: (sc, dec)* 6 (12sc), stuff;
19 rnd: 6 dec, decrease to the end., Fasten the thread, hide
Tail
We take the thread and cling like a fringe on the baby’s bottom. We coat it well with pva glue, and we wind it on a piece of wood, see that it is not painted, otherwise the thread will be painted over.
We wait until it dries, remove and cut off the excess.

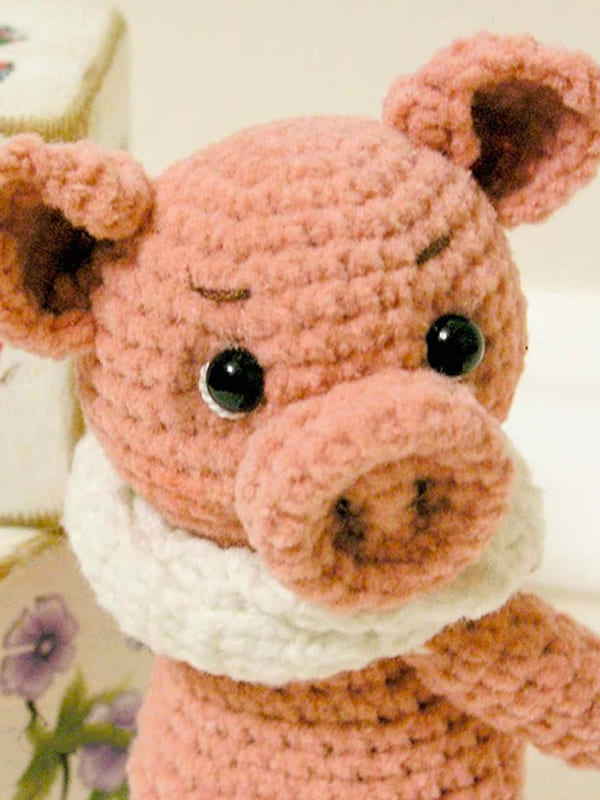
You can add toning, pink on the cheeks, dark on the ears and around the nose. We put on a scarf baby is ready.


 Bear
Bear Bunny
Bunny Cat
Cat Christmas
 Crochet doll
 Deer
Deer Other animals

