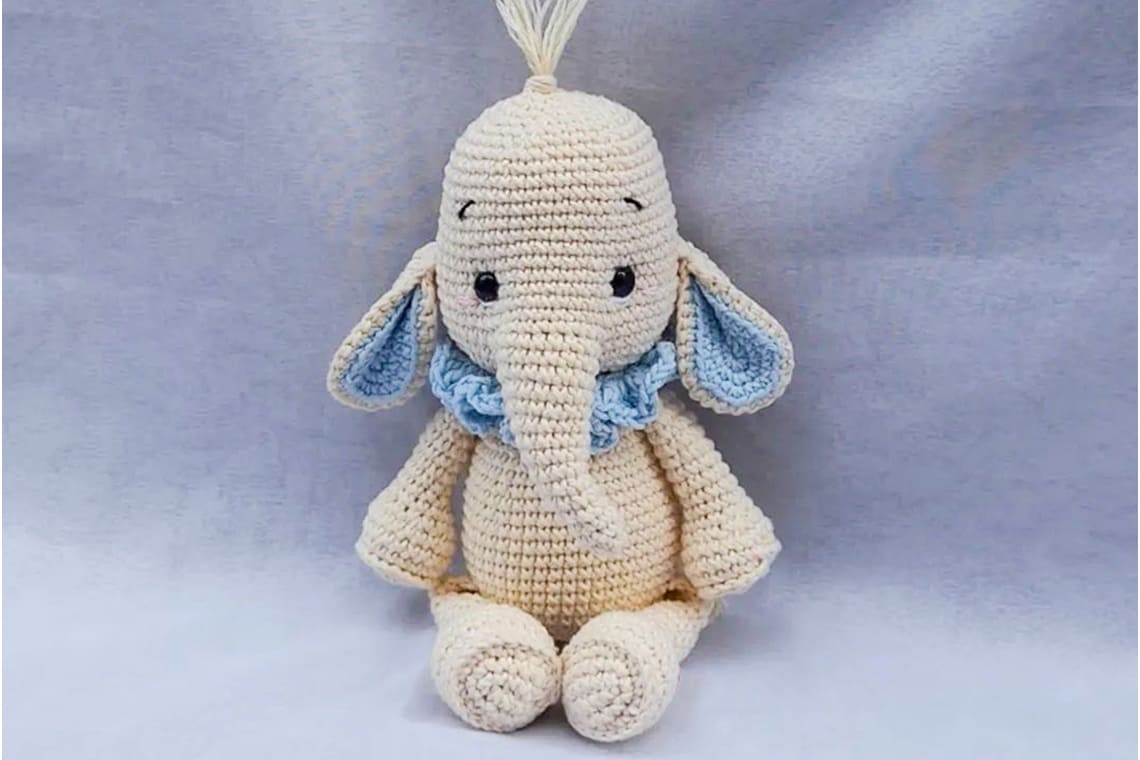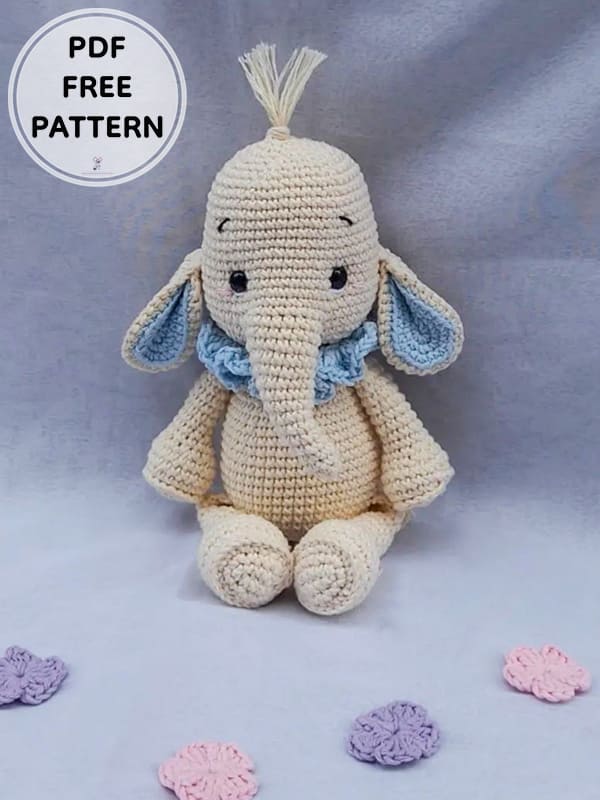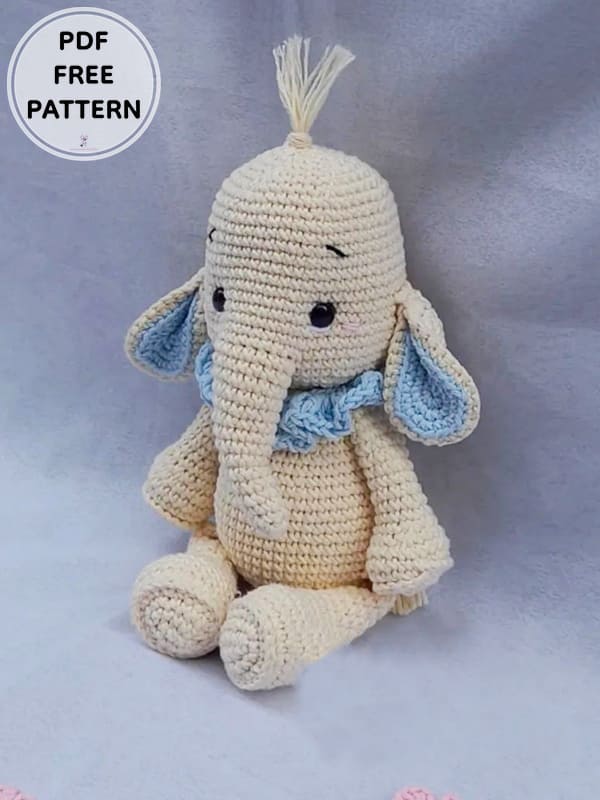
Hello everyone, today I shared the amigurumi crochet elephant pattern for you. Crocheting the cute elephant amigurumi pattern step by step is intermediate difficulty. The ears of the crochet elephant pattern are crocheted as small. sewn to the sides of the head. The inner and outer parts of the ears are crocheted using yarn of different colors. You can make eyes using plastic accessories. You can crochet your eyebrows using black yarn. You can crochet the neck part of the amigurumi elephant free pattern using different colors of yarn. After preparing all the parts by crocheting separately, let’s sew them into place on the body part. Thank you to the creator of the amigurumi elephant pattern. Follow us to see the latest free amigurumi patterns.

Crochet Elephant Jace PDF Free Amigurumi Patterns
Designer: capullitode.aleli
Materials
Gray Peruvian cotton thread
Blue rustic cotton thread 8/6
2mm crochet hook
3mm crochet hook
Scissors
pins
yarn needle
point marker
silicone fleece
8mm safety eyes
White, black and pink embroidery thread
Abbreviation
MR – magic ring
sc – single crochet
dec- decrease
inc- increase
()- repeating sequence
x – repeat followed by
dc – double crochet
ch – chain
hdc – half double crochet
slst- Slip Stitch
BLO- Back loop only
FLO- Front loop only
Note; It is technically crocheted. With low points in the shape of an x. but it doesn’t matter which sc shape you choose. I used the spiral technique. So you’re going to need a marker, a point marker. Since almost everything is knitted in one piece, I suggest you knit in the order the pattern was written. The only thing you will have to sew are his ears. Instead of using plastic eyes you can also embroider them. For more safety in babies. The final measure of the is 20cm but if you choose a thicker thread and a larger needle the result will be a larger bead.
Ears (x2)
Make 2 in natural color and 2 in gray, we will start with the natural color.
Rnd 1. Crochet around a ch of 7 st, beg with the second one: 5 sc, 6 sc tog in the last st, from the other side: 4 sc, 1 inc in the first st of the ch. (17sc)
Rnd 2. 1 inc, 4sc, 6 inc, 5sc, 1 inc (25sc)
Rnd 3. 1sc, 1 inc, 6sc, 1 inc, 1sc, 1 inc, 2 sc, 1 inc, 1 sc, 1 inc, 7sc, 1 inc, 1 sc (31sc)
Close with slst and leave a short tail
When we knit with gray, do not cut the thread because we will knit row 4 together with the natural color fabric. As follows:
Rnd 4. Facing réves with Purl and weave taking both parts of the fabric. Take a gray strand and the BLO that is behind the sc, of the natural color fabric: We will knit a st in each st but we will inc each end. Then we fold the ear and weave the next 3 sc in both parts of the fabric, finishing with the slst and leaving thread to sew to the head

Trunk
In gray color
Rnd 1. 4sc in a MR
Rnd 2. (inc) x 4 (8sc)
Rnd 3-4. 8 sc in the 2 rows
Rnd 5. (3sc, 1 inc) x 2 (10sc)
Rnd 6-7. 10sc
Rnd 8. (4sc, 1 inc) x 2 (12sc)
Rnd 9-10. 12sc
Rnd 11. (5sc, 1 inc) x 2 (14sc)
Rnd 12. 14sc
Rnd 13. (6sc, 1 inc) x 2 (16sc)
Rnd 14. 16sc
Rnd 15. (7sc, 1 inc) x 2 (18sc)
Rnd 16. 9sc (9pt)
Rnd 17. Rotate knitting, 1slst, 7sc, 1slst. Cut leaving a short tail. Fill when we join it to the head.
Arms (x2)
In gray color
Rnd 1. 7sc in a MR
Rnd 2. (inc) x 7 (14sc)
Rnd 3. (1sc, 1 inc) x 7 (21sc)
Rnd 4. FLO: 21slst, BLO (which is behind the st): 21sc
Rnd 5-6. 2 rows of 21 sc
Rnd 7. (1sc, 1dec) x 7 (14sc)
Rnd 8. (1 dec, 5sc) x 2 (12sc)
Rnd 9. 4sc, 2 dec, 4sc (10sc)
Rnd 10-17. 10sc, in the 8 rows.
Fill up to row 14/16
Rnd 18. (1 dec, 3sc) x 2 (8sc)
Rnd 19. 2sc, fold the fabric in half and join them with 4 sc, taking the threads from both parts. Close and cut the thread leaving a short tail.
Legs (x2)
In gray color
Rnd 1. 6ch: from the second ch: 4 sc, 1 inc, from the other side: 3sc, 1 inc (11sc)
Rnd 2. 1 inc, 3sc, 2 inc, 4sc, 1 inc (15sc)
Rnd 3. 1 inc, 3sc, 6 inc, 3sc, 2 inc (24sc)
Rnd 4. FLO 24slst, to BLO (the third strand behind the sc): 24sc
Rnd 5-7. 24 sc in the 3 rows
Rnd 8. 6sc, (dec) x 6, 6sc (18sc)
Rnd 9-10. 18 sc in the 2 rows
Rnd 11. 3sc, (dec) x 6, 3sc (12sc)
Fill the leg well
Rnd 12-14. 12 sc in the 3 rows
Rnd 15. 5sc, dec, 5sc (11sc)
Rnd 16-18. 11 sc in the 3 rows
Rnd 19. 5sc, dec, 4sc (10sc)
Rnd 20. 1sc, double the fabric and knit 5 sc taking both parts. Close and cut the thread.
Body
In gray color
Rnd 1. 7sc in a MR
Rnd 2. (inc) x 7 (14sc)
Rnd 3. (1sc, 1 inc) x 7 (21sc)
Rnd 4. (2sc, 1 inc) x 7 (28sc)
Rnd 5. (3sc, 1 inc) x 7 (35sc)
Rnd 6. (4sc, 1 inc) x 7 (42sc)
Rnd 7. (13sc, 1 inc) x 7 (45sc)
Rnd 8. In this and the next row we join the legs: 9 sc. 5 sc weave the leg and the body together. 17 sc, 5 sc knit the other leg and the body together, 9sc (45sc)
Rnd 9-14. 45 sc in the 6 rows
Rnd 15. (13sc, 1 dec) x 3 (42sc)
Rnd 16. 42sc
Rnd 17. (5sc, 1 dec) x 6 (36sc)
Rnd 18-19. 36 sc in the 2 rows
Rnd 20. (4sc, 1 dec) x 6 (30sc)
Rnd 21-22. 30 sc in the 2 rows
Rnd 23. (3sc, 1 dec) x 6 (24sc)
Rnd 24. Center the fabric by making an additional 3 st. (It has to be in the middle of the body from the back), run the marker, 4sc, 4sc together the body with one of the arms, 8sc, 4sc together the body with the other arm, 4sc (24sc)
Rnd 25. (6sc, 1 dec) x 3 (21sc)
Rnd 26. 21 sc, fill in. From here we will continue with the head.
You must have the legs and arms ready because we will join them to the body as we weave it.
Head
We continue with the gray color
Rnd 1. 21 inc (42sc)
Rnd 2. (5sc, 1 inc) x 7 (49sc)
Rnd 3. (6sc, 1 inc) x 7 (56sc)
Rnd 4. 56sc
Rnd 5. In this row we will join the trunk: 26 sc, 9 sc from the lower part of the trunk and the head, 21sc (56sc)
Rnd 6. 26 sc from the head, 11 sc from the trunk, (taken the st the 9 sc and the two that are on the edges of the trunk), 21 sc from the head (58sc)
Rnd 7-8. 58 sc in the 2 rows
Rnd 9. 10sc, (2sc, 1 dec) x 3, 20sc, (1 dec, 2sc) x 3, 4sc (52sc)
Rnd 10-14. 5 rows of 52 sc. Fill only the upper part of the trunk so that the lower part has a little mobility
Rnd 15. (11sc, 1 dec) x 4 (48sc)
Rnd 16-17. 48 sc in the 2 rows
Rnd 18. (6sc, 1 dec) x 6 (42sc)
Rnd 19. 42sc
Rnd 20. (5sc, 1 dec) x 6 (36sc)
Rnd 21. (4sc, 1 dec) x 6 (30sc) We are filling little by little
Rnd 22. (3sc, 1 dec) x 6 (18sc)
Rnd 23. (2sc, 1 dec) x 6 (12sc)
Rnd 24. (1sc, 1 dec) x 6 (12sc)
Rnd 25. 6 dec. Fill out
Place the safety eyes on row 8. With 12 sc of separation between them.
I close the final ring.
Assembly
• Place the ears and sew on the yarn needle, between rows 9 and 10 of the head. Give a few stitches lower so they do not rise
• Sink the eyes with gray thread passing from one side to the other and puckering behind. Knot and hide the threads.
• Giving a few stitches to the trunk so that it remains fixed. Thank you for visiting our website amigurumireceitas.com
• Embroider the little cheeks with pink thread, making a few stitches one row below the eyes and 2 sc to one side.
• Embroider the shine of the eye with white and the eyelashes and eyebrows 4 rows above the eye. (with black thread)
• Embroider 3 hooves on each of the feet and hands, giving 3 stitches of natural color in each one.
Little Hair
In gray color
For the fringes cut 6/8 strips of thread and with them knit together a slst in the penultimate row of the head
Cola
In gray color
At the height of the legs in the back part, pick up 7 ch and knit 6 sc from the second one. Put fringes at the end. Cutting 4/6 strips of thread. And placing in the last st.
Collar
Blue color (use thread 8/6 needle no:3)
Crochet a ch of 21 st and 2 more to go up, go back 21 hdc, go up with 3 ch. Rotate the fabric. Knit 4dc and ch 1 in each stitch of the previous row. Place on the neck and sew the ends.

Congratulations, you have completed the amigurumi elephant pattern. 🙂


 Bear
Bear Bunny
Bunny Cat
Cat Christmas
 Crochet doll
 Deer
Deer Other animals


Lovely 😍 my grand kid love elephant thx for sharing pattern