Hello everyone, how are you today?
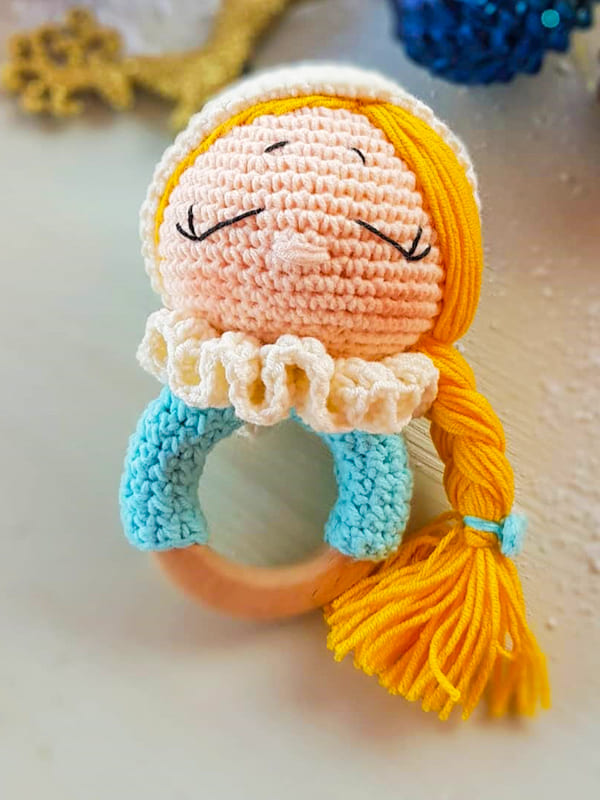
Today I bring you a very cute rattle amigurumi pattern, and it is a totally free crochet pattern. Beginner amigurumi lovers can get a little tired, but thanks to detailed step by step pattern instructions, you can complete this free crochet rattle pattern. The crochet rattle pattern combined with the snow maiden resulted in a very beautiful result. Thank you to the designer for this great work. You can start making a beautiful crochet rattle for your babies right now. Follow us for more free crochet amigurumi patterns.
Rattle Snow Crochet Doll Free PDF Amigurumi Pattern
Designer: yar.yarn
Materials
• Yarn (semi-cotton, cotton) peach, milk, yellow and blue
• Black thread
• Crochet hook: 9 mm
• Wooden ring (diameter 65 mm)
• Ringer
• Knitted needle with blunt tip
• Holo fiber
Abbreviations
MR- Magic ring
Ch- Chain
Sc- Single crochet
Inc- Increase
Dec- Decrease
Slst- Slip stitch
Dc- Double crochet
Ch(s)- Chain/s
Head
Yarn peach color
Rnd 1. 6sc in MR (6)
Rnd 2. 6inc (12)
Rnd 3. (1sc, inc)*6 (18)
Rnd 4. (2sc, inc)*6 (24)
Rnd 5. (3sc, inc)*6 (30)
Rnd 6. 30 sc (30)
Rnd 7. (4 sc, inc)*6 (36)
Rnd 8. 36 sc
Rnd 9. (5sc, inc)*6 (42)
Rnd 10. 42 sc
Rnd 11. (6sc, inc)*6 (48)
Rnd 12-19. 48 sc
Rnd 20. (6sc, dec)*6 (42)
Rnd 21. (5sc, dec)*6 (36)
Rnd 22. (4sc, dec)*6 (30)
Fill with holo fibers
Insert ringer
Rnd 23. (3sc, dec)*6 (24)
Rnd 24. (2sc, dec)*6 (18)
Rnd 25. (1sc, dec)*6 (12)
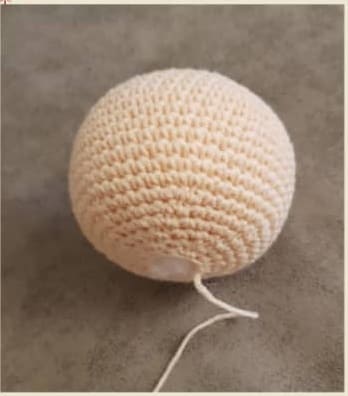
Without closing the hinge to the end, leave hole and end of thread 20-30 cm long for sewing. Fill with fiberfill.
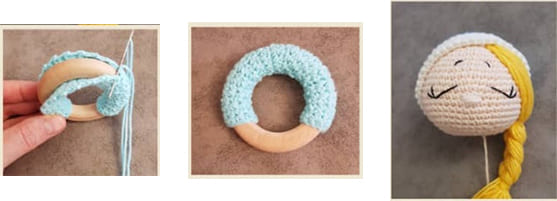
Ring Clamp
Yarn blue color
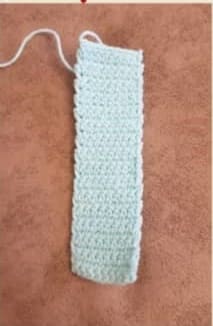
Dial 10 view blue colors (number of loops depends on the thickness of the ring and yarns, therefore, tying 3-4 rows, you need to try the clamp on ring. He must sit very tight)
Rotate work rotate with 2nd loop knit 9 sc.
1 Ch and knit back 9 sc so continue to knit on the length you need. (32)
Thread to fix and cut, leaving the end for sewing.
Collar
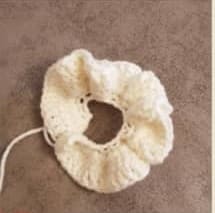
Rnd 1. Milky thread dial 15 ch stitch 2 Ch (17)
Rnd 2. Turn the work and starting with 3 loops knit 2 sc in each loop (30)
Rnd 3. Turn the work and starting with first loop, knit 3 dc in each loop (90)
Rnd 4. Turn the work and starting from knit the first loop 90 dc (90)
Leave the end of the thread for sewing on.
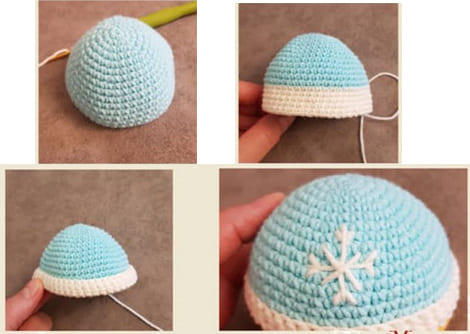
Cap
A thread of blue color
Rnd 1. 6 sc in MR (6)
Rnd 2. inc (12)
Rnd 3. (1sc, inc)*6 (18)
Rnd 4. (2sc, inc)*6 (24)
Rnd 5. (Зsc, inc)*6 (30)
Rnd 6. 30 sc
Rnd 7. (4 sc,inc)*6 (36)
Rnd 8. 36 sc
Rnd 9. (5 sc, inc)*6 (42)
Rnd 10. 42 sc
Rnd 11. (6 sc, inc)*6 (48)
Rnd 12-16. 48 sc
Change to color of the yarn to milk
Rnd 17-21. 48 sc
Thread to fix and cut, leaving the end for sewing.
length 20 cm.
Milk edge of the cap remove and fix all over edge with a needle.
On the front of the cap embroider snowflake.
Pom pom
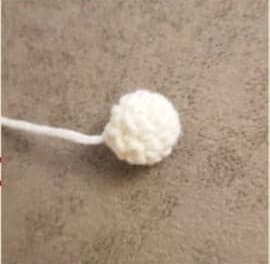
A thread of milk color
Rnd 1. 5 sc in MR (5)
Rnd 2. 5 inc (10)
Rnd 3-4. 10 sc (10)
Rnd 5. 5 dec (we knit 5 sc through the column of the previous series)
Thread to fix and cut, leaving sewing end 10cm long.
Bow
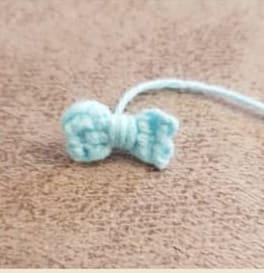
A thread of blue color
8ch turn work and further we knit from the turning rows of 7sc.
Fasten and cut the thread.
Small piece of thread fasten in the middle of the part and wrap around, shaping bow. Fasten and cut the thread, leaving the end for sewing. Length 10cm.
Assembling
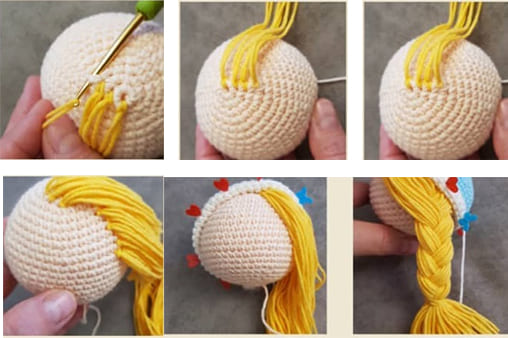
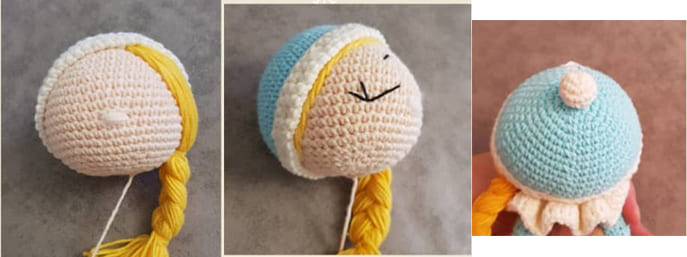
On the machine head and one at a time edge hair. For etdgo yellow color threads length 20 cm folded and fixed with hook a.
Quantity and length of threads can change according to yours desire depending on the thickness and length of the braids. Pompon when sewing to a hat.
Sew the hat to the head so, for hair to come out from under her. From the other side of the head hair to embroider with yellow yarn in free order.
Bridge the scythe icons thread secure, wrapping additional thread. end of thread close knot and cut. On scy sew on the bont.
Thread black b: sew
Ibrovi’s eyes.
A thread of peach color embroidered nose. cheeks (optional).
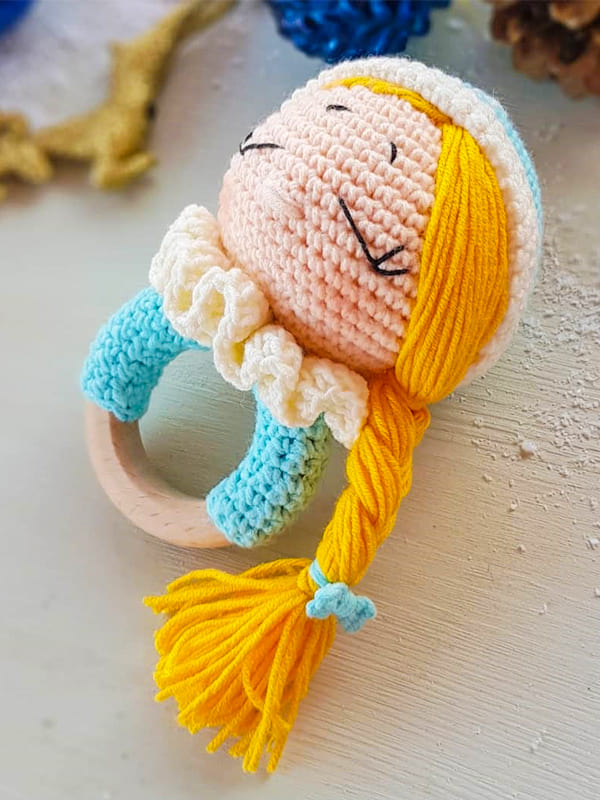
Sew the collar to the ring.
Head sew on the collar.


 Bear
Bear Bunny
Bunny Cat
Cat Christmas
 Crochet doll
 Deer
Deer Other animals

