Hello everyone who loves amigurumi,
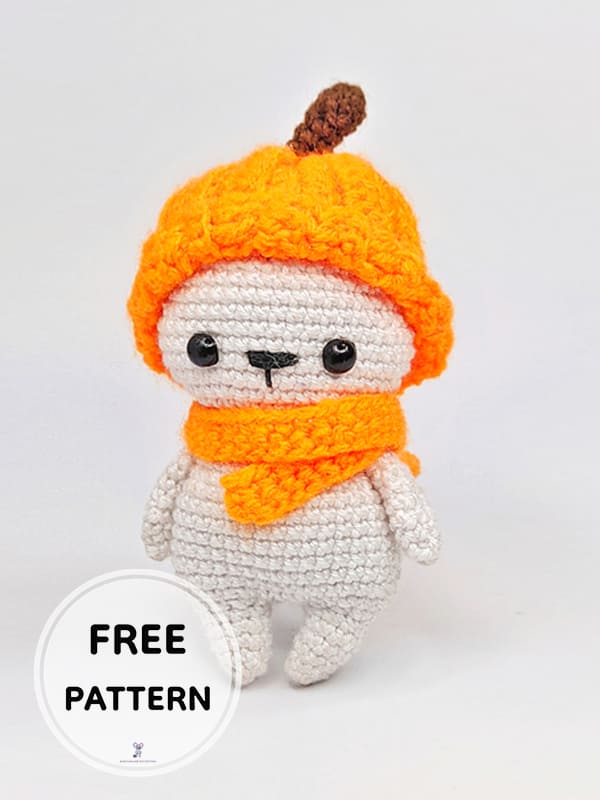
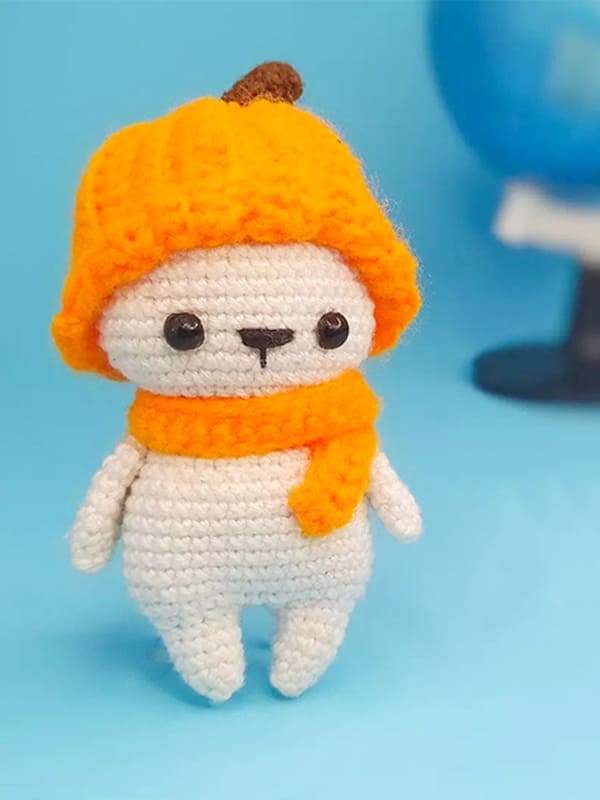
Today I shared the amigurumi bear pattern for you. It is very easy to make step by step. When you complete the free amigurumi pattern, it will be small enough to fit in the palm of your hand. We begin to make the pumpkin bear amigurumi pattern from its legs. After completing the body and head, we crochet the arms. The hat and scarf of the amigurumi bear pattern are designed for Halloween. You can crochet for Christmas or Valentine’s Day using different colors. When you complete the amigurumi bear pattern, you can surprise your loved ones. Thank you to the creator of the amigurumi pumpkin bear pattern. Don’t forget to add it to your favorite list.
PDF Crochet Pumpkin Bear Amigurumi Free Pattern
Designer: tulipyarncrafts
• The finished bear will be approx 10 cm tall it depends on the chosen yarn.
Skill level – medium.
Abbreviations
MR -magic ring
Sc -single crochet
Dc– double crochet
Inc-increase (2 single crochet in 1 stitch)
Dec-decrease (invisible decrease )
BLO -back loop only
Slst-slip stitch
St– stitch
Materials
• Yarn : white and orange ( I used microfibre acrylic, You can use any yarn that youfindsuitable) ,
• Crochet hook:2mm or 1,85mm
• Fiberfill
• Yarn needles
• Safety eyes size 6mm
Let’s start crocheting the amigurumi bear pattern 🙂
Legs (make 2)
Rnd 1. 5sc in MR (7)
Rnd 2. (1sc, inc) x2, 1sc (7)
Rnd 3. (2sc, inc) x2, 1sc (9)
Rnd 4-6. 9 sc(9)
Cut the yarn off the first leg
Don’t cut the yarn for the 2nd one , we will be making the body starting from there
Stuff the legs well before the next step
We have completed the legs of the free amigurumi pattern. Now let’s crochet the head and body part 🙂
Body and Head
Starting from where we finished in the 2nd leg : chain one and join the legs
Rnd 1. (1sc, inc) *4, 3sc (inc; 1sc) *4, 1sc (28)
Rnd 2. (inc, 2sc) *9, inc (38)
Rnd 3-9. 38 sc(38)
Rnd 10. (dec, 2sc)*9 , dec (28)
Rnd 11-12. 28sc (28)
Rnd 13. (dec, 1sc)*9 , 1sc (19)
Rnd 14. dec, 17sc (18)
Stuff as you go
Rnd 15. (2sc , inc)*6 (24)
Rnd 16. (3sc , inc)*6 (30)
Rnd 17. (4sc , inc)*6 (36)
Rnd 18. (5sc , inc)*6 (42)
Rnd 19. 8sc ; (inc, 1sc)*3 , 15sc , (inc, 1sc)*3 , 7sc (48)
Rnd 20-22. 48sc (48)
Rnd 23. 8sc ; (dec , 1sc)*3 , 15sc , (dec , 1sc)*3 , 7sc (42)
Rnd 24-25. 42sc (42)
Rnd 26. (5sc , dec)*6 (36)
Rnd 27. 36sc (36)
Insert safety eyes between rounds 19 and 20, 8 stitches apart
Rnd 28. (4sc , dec)*6 (30)
Rnd 29. 30sc (30)
Rnd 30. (3sc , dec)*6 (24)
Rnd 31. (2sc , dec)*6 (18)
Rnd 32. (1sc , dec)*6 (12)
Rnd 33. 6 dec (6)
Cut the yarn and hide it inside the head
Embroider the nose as it appears in the pictures (use white yarn or white sewing thread)
Let’s crochet the arms and ears of the free amigurumi toy 🙂
Arms (make 2)
Rnd 1. 5sc in MR (7)
Rnd 2. (1sc, inc) x2, 1sc (7)
Rnd 3. (2sc, inc) x2, 1sc (9)
Rnd 4-8. 9 sc(9)
Don’t stuff the arms
Leave a long tail for sewing
Ears (make 2)
Rnd 1. 6sc in MR (6)
Rnd 2. 6 inc(12)
Rnd 3. 12sc (12)
Cut the yarn and hide it inside the ear
Don’t stuff the ears
Let’s crochet the hat and scarf of the amigurumi bear pattern. 🙂
Scarf
Chain 45 and start from the 2nd chain from the hook
Rnd 1. 44sc (44)
Cut the yarn and hide it inside the scarf
Orange color yarn is used in this part. You can use different colors of yarn if you want. 🙂
Hat
Chain 16 and start from the 2nd chain from the hook
Rnd 1. 15 sc (15)
Rnd 2. 15sc BLO (15)
Rnd 3. 15 dc BLO (15)
Rnd 4. 15 dc BLO (15)
Repeat the 4 rows 6 times and leave a long tail for sewing. Fold you crocheted piece in half and sew the ends together. Pass the tail inside the holes on the side on the piece and pull it tight until you get a small hole then sew the hole with a needle
Stem
Rnd 1. 6sc in MR (6)
Rnd 2-5. 6 sc (6)
Leave a long tail for sewing

Congratulations, you have completed the amigurumi bear pattern. 🙂


 Bear
Bear Bunny
Bunny Cat
Cat Christmas
 Crochet doll
 Deer
Deer Other animals

