Hello to everyone who loves amigurumi,
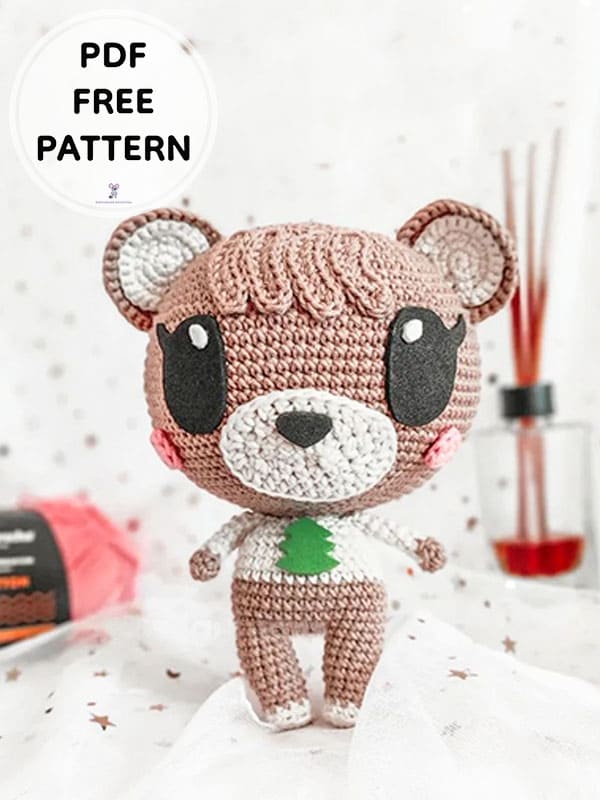
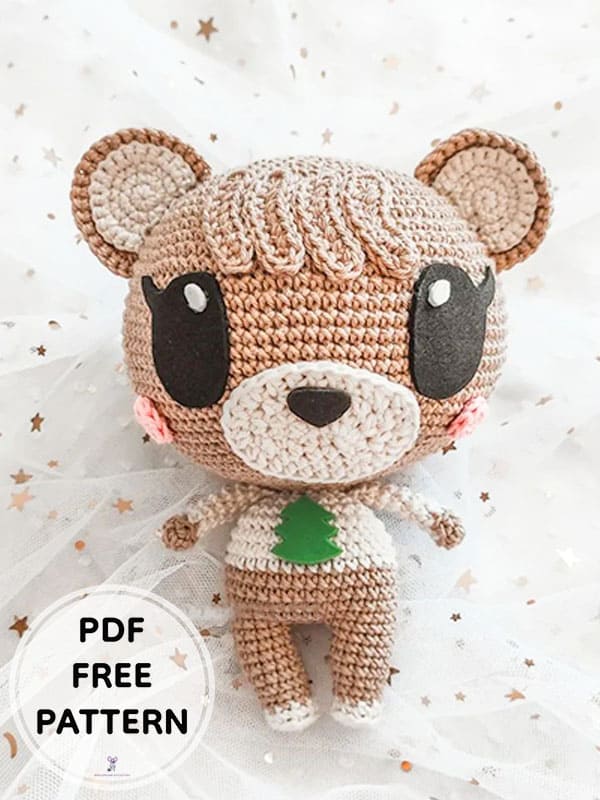
Today I shared the most loved character of the Animal Crossing game for you. The amigurumi bear Maple pattern is very easy to crochet step by step. You can crochet free crochet bear pattern for your loved ones and for kids. amigurumi bear pattern is crocheted in detail. The free amigurumi pattern is of medium difficulty. You can change the yarn color of the amigurumi toy as you wish. The eyes and tie of the free amigurumi bear Maple pattern are made using colored felt fabric. We will crochet the legs and body part of the free pattern together. Let’s crochet her arms and head separately. Let’s sew the completed parts into place on the body part. You can crochet the cheeks of the amigurumi bear pattern using pink yarn. Thank you to the creator of the amigurumi bear Maple pattern. Don’t forget to add to your favorite list and share.
PDF Crochet Maple Bear Amigurumi Free Pattern
Designer: paligurumis
Materials
• Cotton: winter white, coffee and pink
• Wool needle, scissors, pins, crochet, stuffing, black, white and green felt or lenci cloth
• I used a crochet no: 2.00 mm
• Cottons of the brand reverse-right Cotton line
Abbreviations
MR – magic ring
Ch – chain
Sc – single crochet
Inc– increase
Dec– decrease
Hdc – half double crochet
Slst– Slip Stitch
BLO– Back loop only
Rnd– round
We are going to crochet the head part of the amigurumi bear pattern 🙂
Head
Rnd 1. 6sc MR (6)
Rnd 2. 6inc (12)
Rnd 3. (1sc, 1inc) x 6 (18)
Rnd 4. (2sc, 1inc) x 6 (24)
Rnd 5. (3sc, 1inc) x 6 (30)
Rnd 6. (4sc, 1inc) x 6 (36)
Rnd 7. (2sc, 1inc) x 12 (48)
Rnd 8. (3sc, 1inc) x 12 (60)
Rnd 9-10. Only sc (60)
Rnd 11. (5sc, 1 inc) x 10 (70)
Rnd 12-13. Only sc (70)
Rnd 14. (6sc, 1inc) x 10 (80)
Rnd 15. (7sc, 1inc) x 10 (90)
Rnd 16-26. Only sc (90)
Rnd 27. (7sc, 1dec) x 10 (80)
Rnd 28. Only sc (80)
Rnd 29. (6sc, 1dec) x 10 (70)
Rnd 30-31. Only sc (70)
Rnd 32. (5sc, 1dec) x 10 (60)
Rnd 33. (3sc, 1dec) x 12 (48)
Rnd 34. (2sc, 1dec) x 12 (36)
Rnd 35. (4sc, 1dec) x 6 (30)
Rnd 36. (3sc, 1dec) x 6 (24)
Rnd 37. (2sc, 1dec) x 6 (18)
Rnd 38. (1sc, 1dec) x 6 (12)
Close with a slst, leave a tail to sew to the body.
We have completed the head part of the amigurumi toy. Now let’s crochet your arms 🙂
Arms (x2)
Rnd 1. 6sc MR (6)
Rnd 2. 6sc (6)
Color change (winter white)
Rnd 3. 6sc BLO (6)
Rnd 4-9. Only sc (6)
Close with slst, leave thread to sew to the body.
We are going to knit the snout part of the free pattern. 🙂
Snout
All increases in this part will be half double crochet increases
Ch 4
1 inc in 2nd chain from hook, 1 hdc, 4 hdc in same stitch, (continue working on the other side of the ch) 1 hdc, 1 inc (10)
Now we start knitting in rounds
Rnd 1. 1 inc, 3 hdc, 2 inc, 3 hdc, 1 inc (14)
Rnd 2. 2 inc, 5 hdc, 2 inc, 4 hdc, 1 inc (19)
Rnd 3. 3 inc, 6 hdc, 4 inc, 5 hdc, 1 inc
Rnd 4. 3 inc, 2 hdc
Close with slst, leave thread to sew.
Let’s knit the legs and the body part of the Maple Bear Amigurumi pattern together 🙂
Legs (x2) and Body
We start with winter white
Rnd 1. 6sc MR
Rnd 2. (1sc, 1inc) x 3 (9)
Rnd 3. Only sc (BLO) (9)
Color change (brown)
Rnd 4-5. Only sc (9)
Rnd 6. (2sc, 1inc) x 3 (12)
Rnd 7-10. Only sc (12)
Close with a slst
The second leg will not be closed, we will join the two legs:
Rnd 11. 4 ch, join to any sc of the other leg, 11sc, 4sc in ch, 2sc on leg.
(From here the following rounds will begin)
Rnd 12. Only sc (32)
Rnd 13. 3sc, 1inc, 8sc, 1inc, 5sc, 1inc, 8sc, 1inc, 4sc (36)
Rnd 14-16. Only sc (36)
Color change (winter white)
Rnd 17-20. Only sc (36)
Rnd 21. (3sc, 1dec) x 7, 1sc (29)
Rnd 22. (2sc, 1dec) x 7, 1sc (22)
Rnd 23. (1sc, 1dec) x 7, 1sc (15)
Rnd 24. 3dec (12)
Close with a slst, hide excess yarn.
Let’s make the free crochet pattern ears. 🙂
Ears
Rnd 1. 6sc MR
Rnd 2. 6 inc
Rnd 3. (1sc, 1inc) x 5, 1 ch and turn the fabric
Rnd 4. (2sc, 1inc) x 4, 1sc, 1 ch and turn the fabric
Rnd 5. (3sc, 1inc) x 4, 1sc, 1 ch and turn the fabric
Rnd 6. Only sc
Close and leave thread to sew
Do the same for the white part of the ear (inner part) but only up to Rnd4
Leave thread to sew to the brown part
Let’s weave the hair of the amigurumi pattern 🙂
Hair (x4)
9 ch, 1sc in the 2nd chain from the hook, 6sc, 3sc in the same stitch, we will continue working on the other side of the ch, 7sc
Close and leave thread to sew.
We are going to crochet the cheeks of the amigurumi bear pattern. Pink yarn is preferred for the cheeks. 🙂
Cheeks (x2)
8 hdc in the MR
Close the AM with a slst so that it is round and leave a thread to sew.
Tail
Rnd 1. 6sc in the MR
Rnd 2. 6sc
Close with slst, leave thread to sew
Assembly
• Make the eyes, the nose and the little tree of the vest with felt or felt cloth.
• Pin everything in place as shown in the photo, once you are satisfied with its position start sewing all the parts
• You also have the possibility to glue them with fabric glue

Congratulations, you have completed the Maple bear amigurumi pattern. 🙂


 Bear
Bear Bunny
Bunny Cat
Cat Christmas
 Crochet doll
 Deer
Deer Other animals

