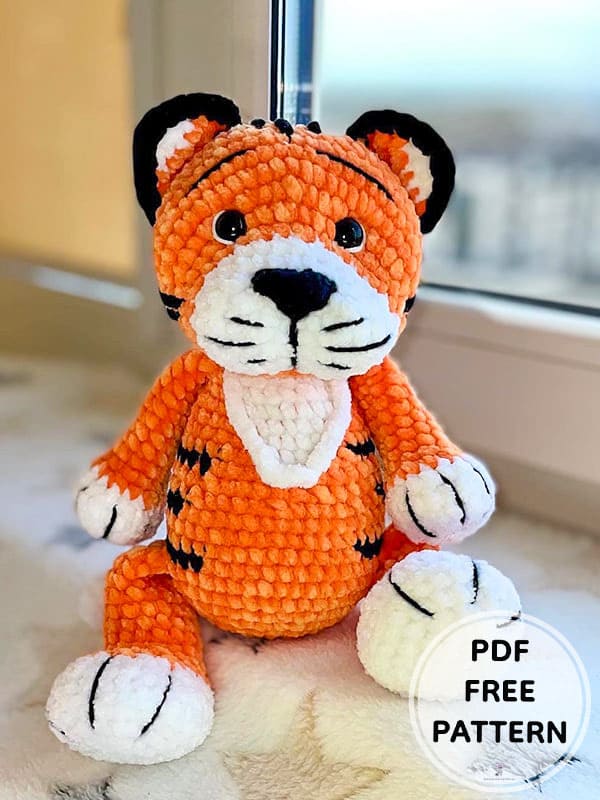
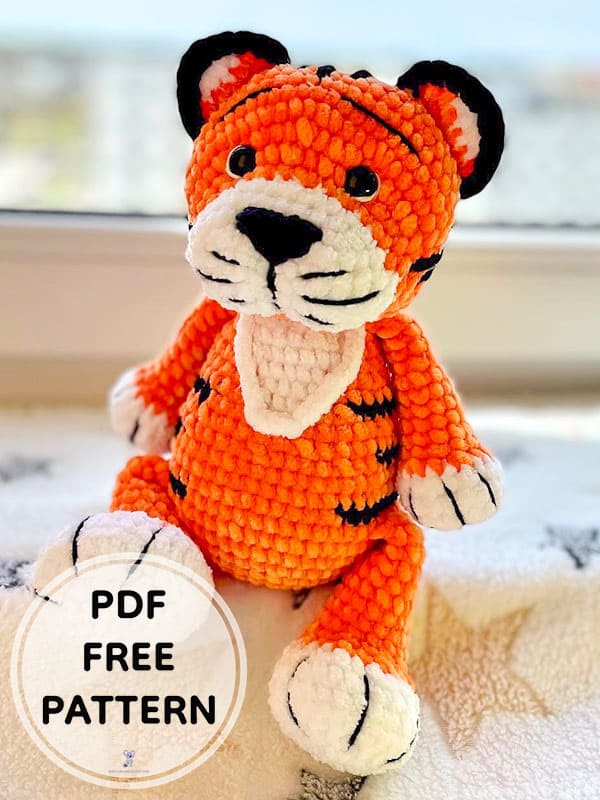
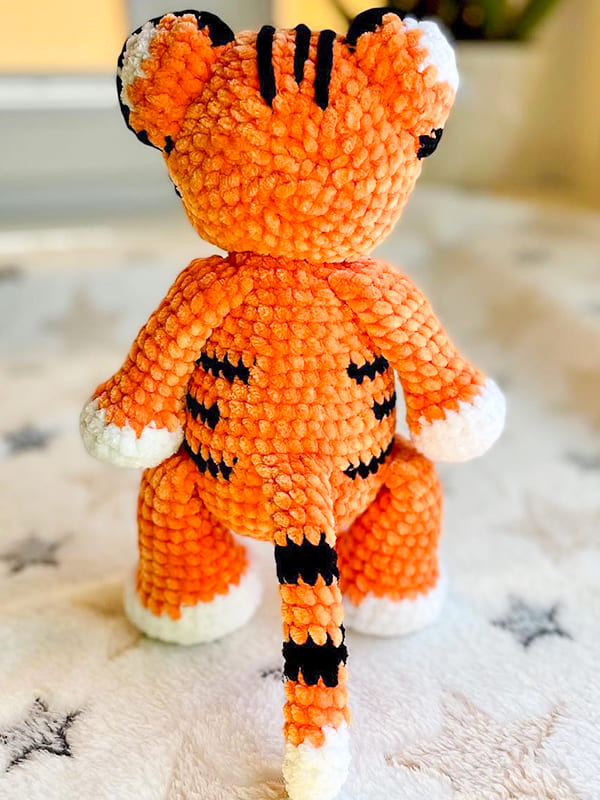
Hello everyone, today I bring you a crochet plush tiger amigurumi pattern. First of all, I would like to thank the owner of the pattern. Thanks to the step by step detailed crochet amigurumi pattern instructions, you will complete the very easy amigurumi pattern. Easy pattern for beginner amigurumi users. To make handmade safe amigurumi toys for your children, you can visit our website every day to be informed about new free amigurumi crochet tiger patterns. Now I invite you to free pattern instructions.
Crochet Plush Tiger Mark PDF Amigurumi Free Pattern
Designer: toyed000
Materials
• Himalaya velvet orange 1 yarn.
• Himalaya velvet black 1 yarn.
• Himalaya velvet white 1 yarn.
• 3.0 mm crochet hook.
• 12 mm safety eyes (14,16,18mm).
• Thin thread for sewing parts.
• Black and white threads for embroidering details.
• Sewing needle and scissors.
• Fiberfill.
Abbreviations
Rnd– Round
MR– Magic ring
Sc– Single crochet
Ch– Chain
Inc– Increase
Dec– Decrease
BLO– Back loop only
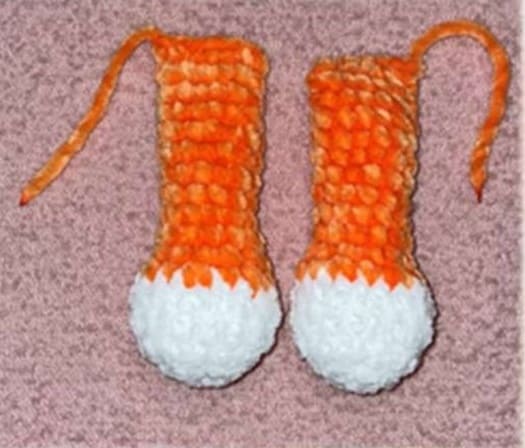
Legs: (make 2)
Let’s start with White: Make 5ch, from the 2nd ch from hook:
Rnd 1: 3sc, 3sc into the one stitch, 2sc, 1inc. [10]
Rnd 2: inc, 2sc, 3inc, 2sc, 2inc. [16]
Rnd 3: 1sc, inc, 2sc, (1sc, inc)*3, 2sc, (1sc, inc)*2 [22]
Rnd 4: 2sc, inc, 2sc, (2sc, inc)*3, 2sc, (2sc, inc)*2 [28]
Rnd 5: BLO 28sc. [28]
Rnd 6: 28sc. [28]
Rnd 7: 4sc, (1sc, dec)*6, 6sc. [22]
Change to Orange yarn:
Rnd 8: 4sc, (1sc, dec)*6, 4sc. [18]
Rnd 9: 5sc, dec, 2sc, dec, 7sc. [16]
Rnd 10-17: 16sc. (8 rows).
Rnd 23: 1sc. and fold the top opening flat and 8sc. through both sides across.
Fill with fiber. Leaving yarn for legs to sew.
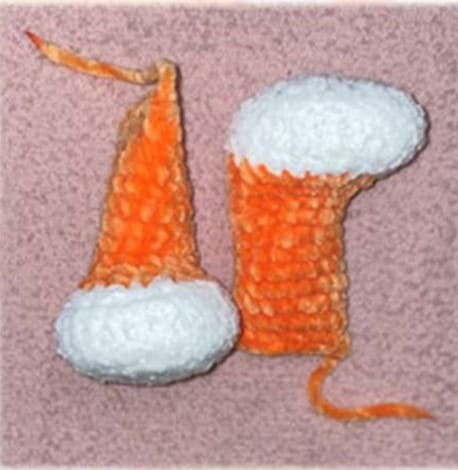
Arms: (make 2)
Let’s start with White:
Rnd 1: 6sc in MR.
Rnd 2: (inc)* 6. [12]
Rnd 3: (sc, inc)*6 [18]
Rnd 4-5: 18sc. (2 rows)
Change to Orange yarn:
Rnd 6: (1sc, dec)* 6 [12]
Rnd 7-16: 12sc. (10 rows)
Rnd 17: 1sc. and fold the top opening flat and 6sc, through both sides across.
Fill with fiber. Leaving yarn for arms to sew.
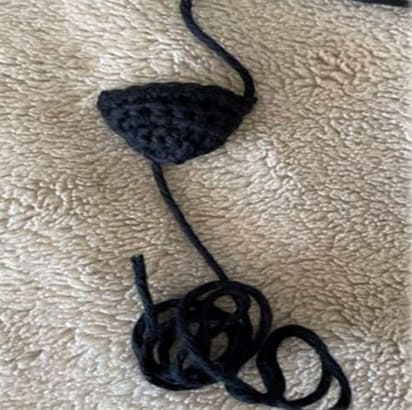
Nose:
With Black yarn:
Rnd 1: 3sc in MR, ch, turn.
Rnd 2: 3inc, ch, turn. [6]
Rnd 3: inc, 4sc, inc, ch, turn [8]
Rnd 4: BLO 8sc, ch, turn [8]
Rnd 5: 8sc, not cut yarn, leaving yarn for the muzzle to sew.
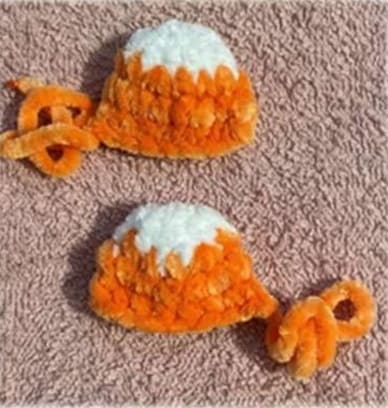
Ears: (2 make)
Let’s start with White:
Rnd 1: 6sc in MR.
Rnd 2: (inc)*6. [12]
Don’t break off the yarn.
Change to Orange yarn:
Rnd 3: (3sc, inc)*3. [15]
Rnd 4: 15sc.
Fold the top opening flat and 7sc, through both sides across.
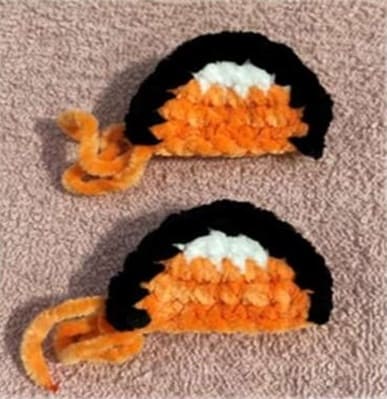
Black thread crochets the edges of the ear: 4sc, 3inc, 4sc.
Leaving yarn for ears to sew, and sending a little bend.
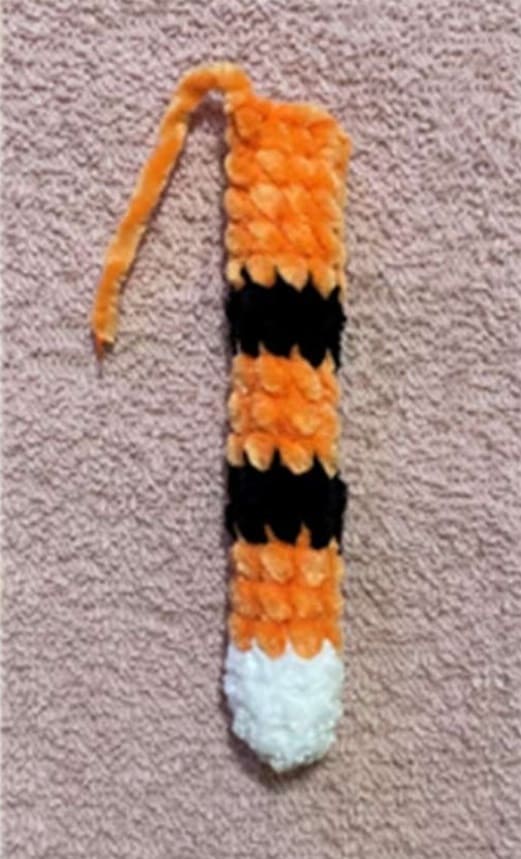
Tail:
Let’s start with White:
Rnd 1: 6sc in MR
Rnd 2: (2sc, inc)*2. [8]
Rnd 3-4: 8sc. (3 rows)
(break free from the white yarn)
Change to Orange yarn:
Rnd 5-7: 8sc. (3 rows)
Don’t break off the yarn.
Change to Black yarn:
Rnd 8-9: 8sc. (2 rows)
Don’t break off the yarn.
Change to Orange yarn:
Rnd 10-12: 8sc. (3 rows)
Don’t break off the yarn.
Change to Black yarn:
Rnd 13-14: 8sc. (2 rows)
(break free from the black yarn).
Change to Orange yarn:
Rnd 15-18: 8sc. (4 rows).
Fold the top opening flat and 4sc, through both sides across. Leaving yarn for a tail to sew.
Head:
Let’s start with white:
Make 7 ch, from the 2nd ch from hook:
Rnd 1. 5sc, 3sc into the one stitch, 4sc, 1inc [14]
Rnd 2. inc, 4sc, 3inc, 4sc, 2inc [20]
Rnd 3. 1sc, inc, 4sc, (1sc,inc)*3, 4sc, (1sc,inc)*2 [26]
Rnd 4-5. 26sc. (2 rows)
Don’t break off the yarn.
Change to orange yarn:
Rnd 6. (1sc,inc)*6, 14sc [32]
Rnd 7. (4sc,inc)*4, (5sc,inc)*2 [38]
Rnd 8. 1sc, inc, (2sc,inc)*6, 18sc [45]
Rnd 9. (8sc,inc)*5 [50]
Rnd 10-14. 50 sc (5 rows)
Rnd 15. (8sc,dec)*5 [45]
Rnd 16. 3sc, dec, (7sc,dec)*4, 4sc [40]
Rnd 17. (6sc,dec)*5 [35]
Rnd 18. 2sc,dec,(5sc,dec)*4,3sc [30]
Rnd 19. (3sc,dec)*6 [24]
Rnd 20. (2sc,dec)*6 [18]
Rnd 21. (1sc,dec)*6 [12]
Rnd 22. dec*6
Fill with fiber.
Body:
O- Orange color
B- Black color
W- White color
Let’s start with orange yarn:
Rnd 1. 6 sc in MR
Rnd 2. (inc)*3 [12]
Rnd 3. (1sc,inc)*3 [18]
Rnd 4. 1sc, inc, (2sc,inc)*5, 1sc [24]
Rnd 5. (3sc,inc)*6 [30]
Rnd 6. 2sc, inc, (4sc,inc)*5, 2sc [36]
Rnd 7. (5sc,inc)*6 [42]
Rnd 8. 3sc, inc, 4sc, inc, 4sc, inc, 2sc [45]
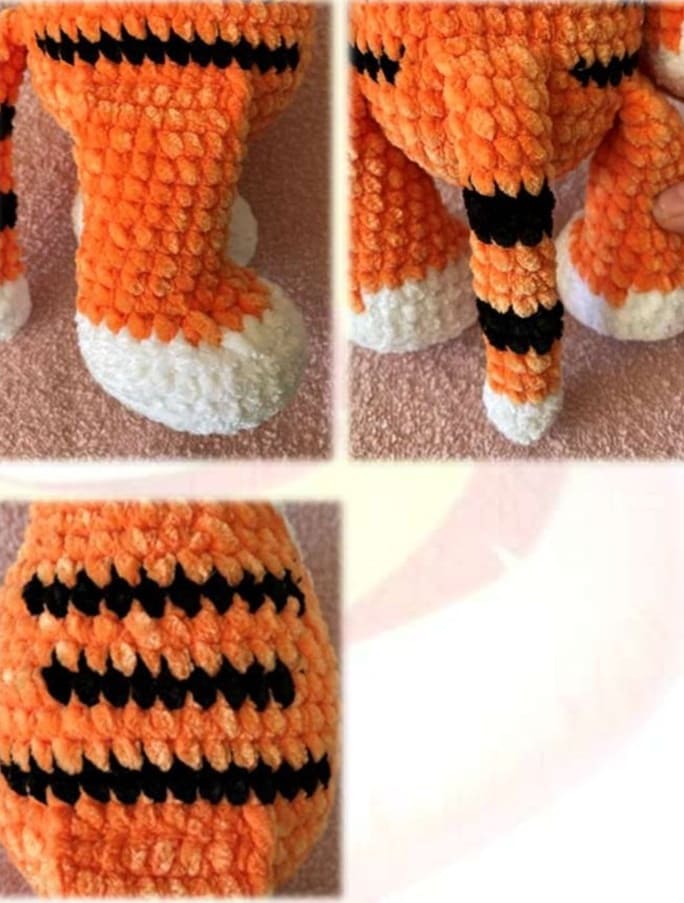
Rnd 9. 18sc, 8sc, leg, 13sc, 6sc, leg [42]
Rnd 10. 2sc leg, 13sc, change to black yarn B 14sc, change to orange yarn O 7sc, change to black yarn B 9sc. [45]
Rnd 11. B5sc, O25sc, 5sc tail, 10sc [45]
Rnd 12. O45sc, (1 row)
Rnd 13. O18sc, B9sc, O11sc, B7sc [45]
Rnd 14. B2sc, O2sc, O1dec, (O4sc,O1dec)*3, O27sc [45]
Rnd 16. O5sc, change to white yarn 3sc, O3sc, B10sc, O7sc, B8sc [36]
Rnd 17. B2sc, O2sc, W5sc, O27sc [36]
Rnd 18. O2sc, O1dec, W4sc, W1dec, (O4sc,O1dec)*4, O2sc [30]
Rnd 19. O2sc, W7sc, O21sc [30]
Rnd 20. O1sc, W9sc, O20sc [30]
Rnd 21. O1sc, W2sc, W1dec, W3sc, W1dec, (O3sc,O1dec)*4 [24]
Rnd 22. W8sc, O1dec, O6sc arm, O4sc, O5sc arm [24]
Rnd 23. O1sc arm, W8sc, O15sc [24]
Finish off.
Leaving yarn for the head to sew.
Fill with fiber.

Assembly
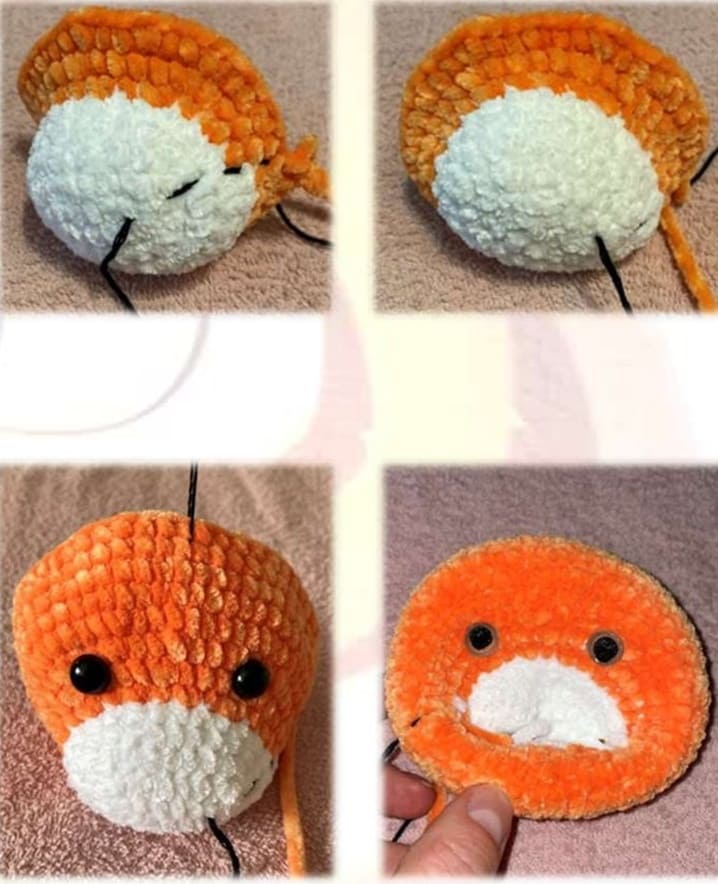
• We do eye tightening. Introduce the yarn from the bottom of the head.
• Sew your ears in 14 rows to your head, between the ears 9sc.
• We sew our noses and shape our mounths.
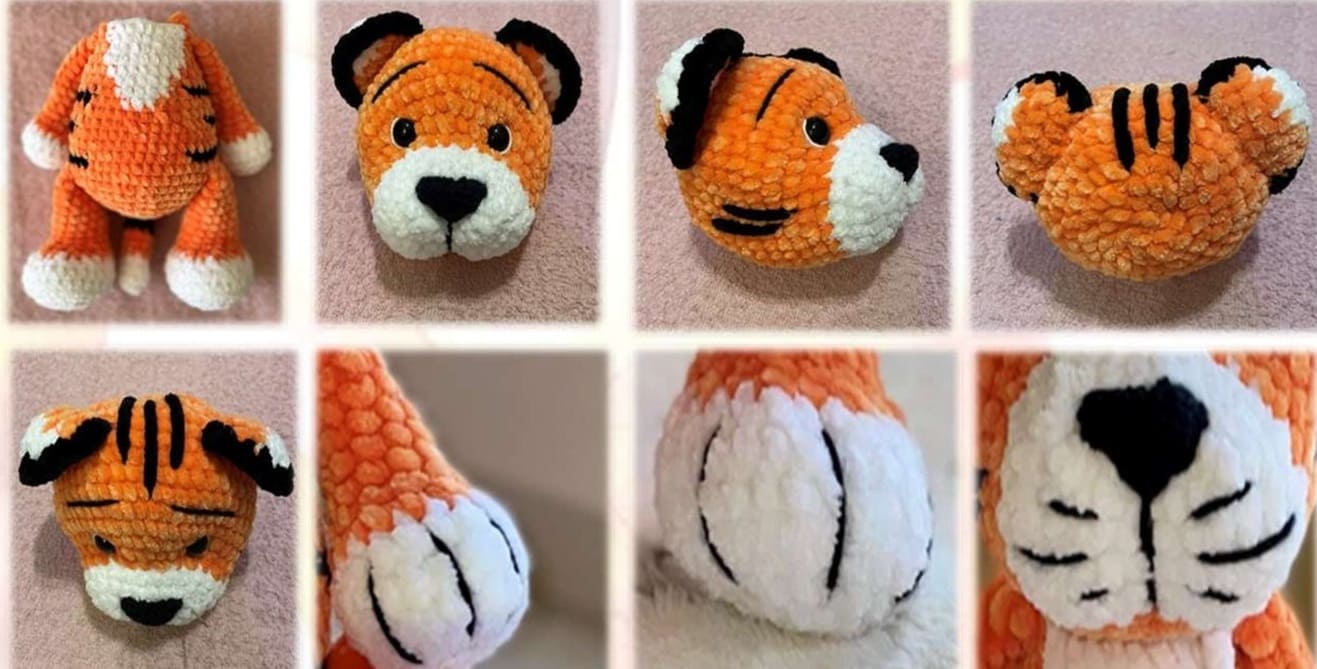
• Embroidered eyebrows. Embroider eyes white thread.

• We sew the head to the body, if necessary, add filler to the neck.
• Embroider the stripes on the face with black plush thread.
• Embroider with black thread on the arms, legs, and muzzle.
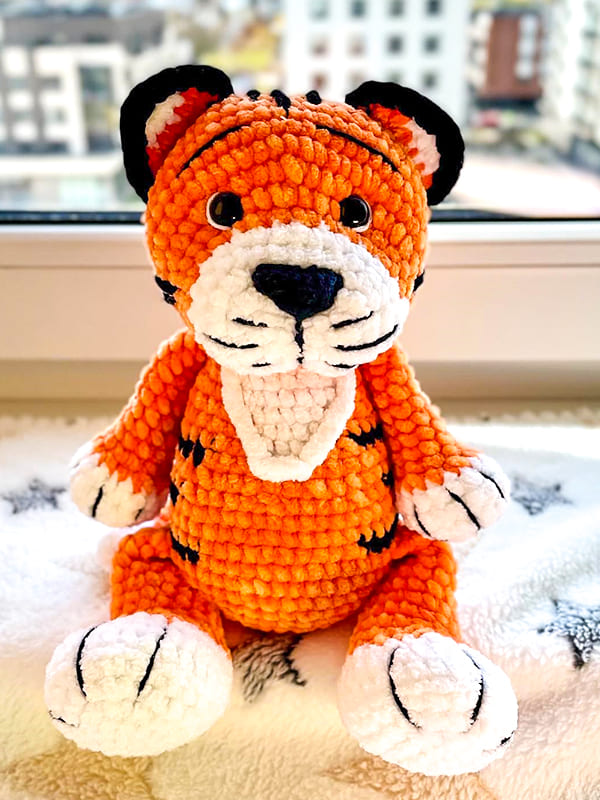
Congratulations, your crochet tiger amigurumi toy is ready.


 Bear
Bear Bunny
Bunny Cat
Cat Christmas
 Crochet doll
 Deer
Deer Other animals

