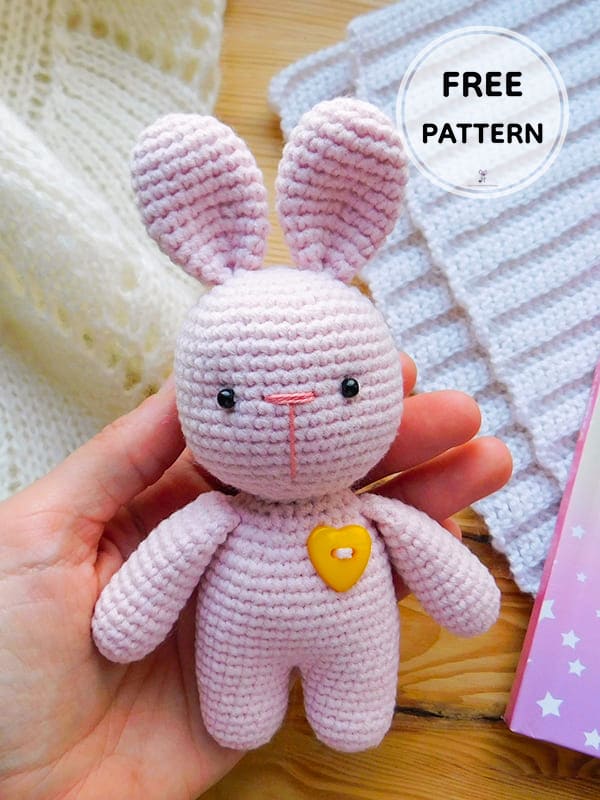
Hello everyone, today I brought a very cute amigurumi pattern for you. First of all, I would like to thank the owner of the pattern for sharing such a cute amigurumi toy with us. The crochet baby toy bunny amigurumi pattern is pretty easy level. It is an ideal crochet amigurumi pattern for beginners. By learning step by step crochet patterninstructions, you can make a beautiful handmade playmate for your children. Our designer preferred pink yarn for yarn selection, but you can design it with any yarn colors you wish. Don’t forget to follow us for more free crochet amigurumi patterns.
Crochet Bunny Adeline PDF Amigurumi Free Pattern
Designer: Svetlana Bolotova
Necessary materials
• Filler for toys (synthetic winterizer, synthetic winterizer, or holofiber).
• Semi-cotton yarn (or any of your choice).
• Cotton yarn (thin) for embroidering the spout of a toy.
• Beads for the eyes (or eyes on a secure mount, 4 mm).
• Hook number 1.5.
Abbreviations
MR- magic ring
sc- single crochet
inc- increase
dec- decrease
• Dimensions: about 15 cm including the length of the ears.
• The size of the toy depends on the thickness of the yarn used, the density of knitting and the number of the hook.
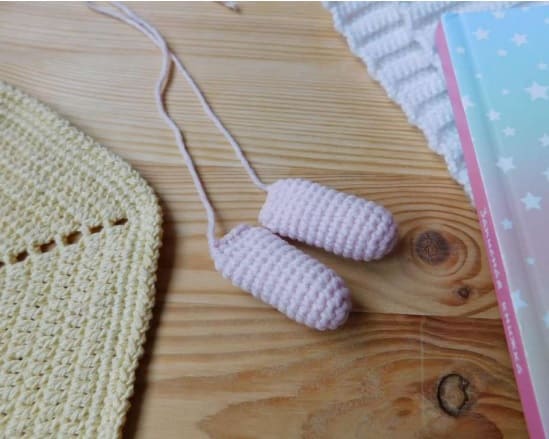
Arms (Make 2)
Rnd 1. 6 sc in MR
Rnd 2. (inc)*6 = 12 sc
Rnd 3. (3 sc, inc)*3 = 15 sc
Rnd 4-13. (10 rnds) 15 sc
Rnd 14. (3 sc, dec)*3 = 12 sc
Rnd 15. Fold the part in half at the top, crochet 5 sc, inserting the hook into both halves of the part.
Legs
Left leg
Rnd 1. 6 sc in MR
Rnd 2. (inc)*6 = 12 sc
Rnd 3. (sc, inc) х 6 = 18 sc
Rnd 4-9. (6 rnds) 18 sc
At the end of the 9th row, crochet ch, pull the thread through ch, cut.
Right leg
Rnd 1. 6 sc in MR
Rnd 2. (inc)*6 = 12 sc
Rnd 3. (sc, inc) х 6 = 18 sc
Rnd 4-9. (6 rnds) 18 sc
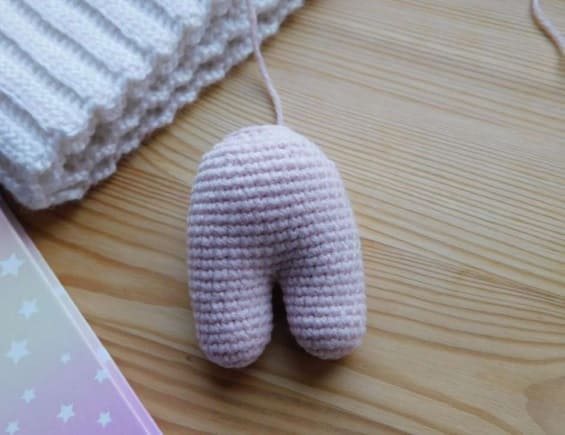
Next, we connect the legs, applying tightly one leg to the other.
Rnd 10. 18 sc on the left leg, 18 sc on the right leg = 36 sc
We put a marker.
Please note that further rows begin along the back of the toy.
Rnd 11-20. (10 rnds) 36 sc
Rnd 21. (4 sc, dec)*6 = 30 sc
Rnd 22. 30 sc
Rnd 23. (3 sc, dec)*6 = 24 sc
Rnd 24. (2 sc, dec)*6 = 18 sc
Head
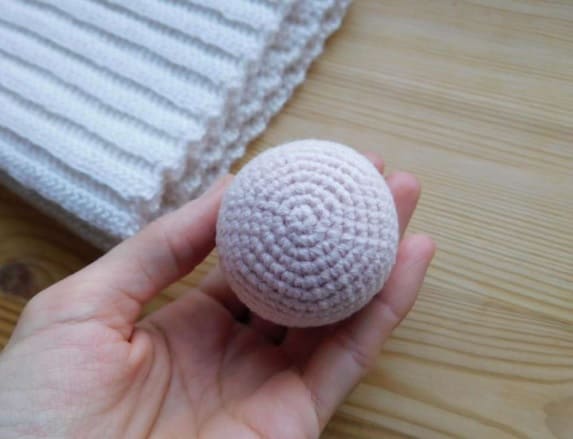
We crochet with a separate detail, we start from the crown.
Rnd 1. 6 sc in MR
Rnd 2. (inc)*6 = 12 sc
Rnd 3. (1 sc, inc)*6 = 18 sc
Rnd 4. (2 sc, inc)*6 = 24 sc
Rnd 5. (3 sc, inc)*6 = 30 sc
Rnd 6. (4 sc, inc)*6 = 36 sc
Rnd 7. (5 sc, inc)*6 = 42 sc
Rnd 8-18. (11 rnds) 42 sc
Rnd 19. (5 sc, dec)*6 = 36 sc
Rnd 20. (4 sc, dec)*6 = 30 sc
Rnd 21. (3 sc, dec)*6 = 24 sc
Rnd 22. (2 sc, dec)*6 = 18 sc
Insert the eyes (if you chose the eyes on a secure mount) between the 12th and 13th rows.
The distance between the eyes is 5 loops.
Eye size 4 mm.
If desired, the eyes can be inserted (or sewn) a row higher, i.e. between the 11th and 12th rows.
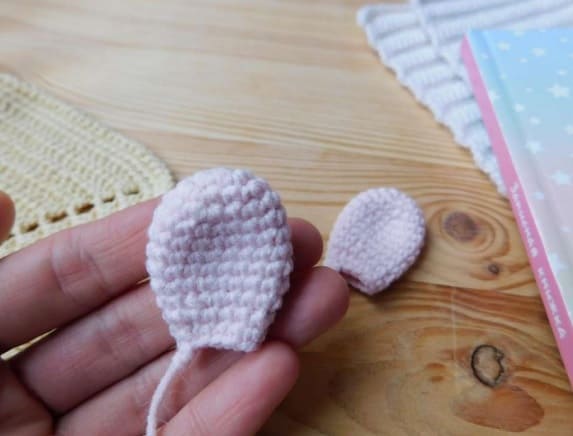
Ears (Make 2)
Rnd 1. 6 sc in MR
Rnd 2. (inc)*6 = 12 sc
Rnd 3. (sc, inc)*6 = 18 sc
Rnd 4-8 (5 rnds) 18 sc
Rnd 9. (4 sc, dec)*3 = 15 sc
Rnd 10. 15 sc
Rnd 11. (3 sc, dec)*3
Assembly
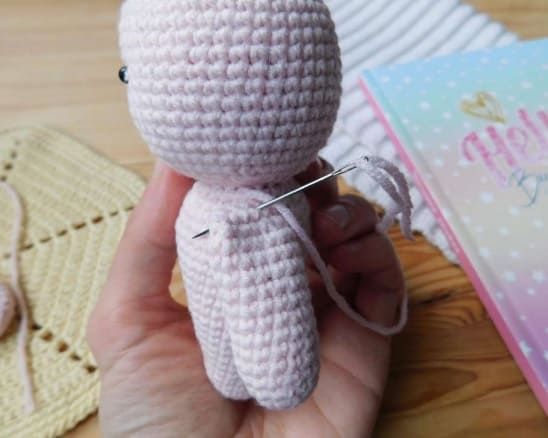
• Sew the head to the body.
• We sew handles between the 22nd and 23rd rows.
• Sew on the eyes, embroider the nose with a thin thread.
• Sew on the ears.
• We decorate the bunny with a button or ribbon.


 Bear
Bear Bunny
Bunny Cat
Cat Christmas
 Crochet doll
 Deer
Deer Other animals

