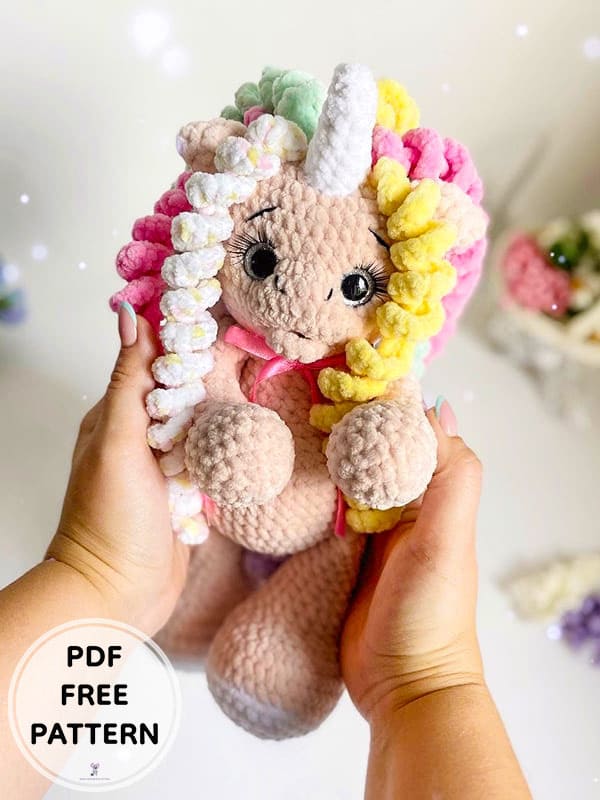
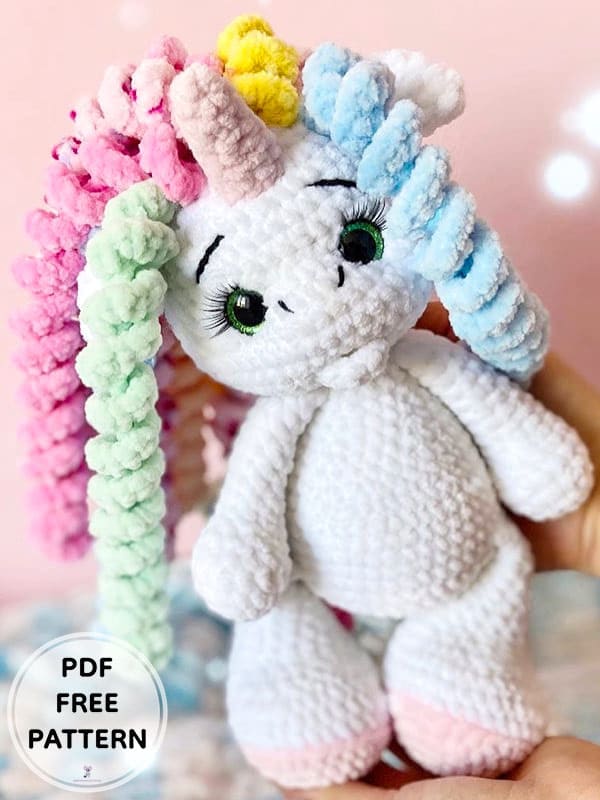
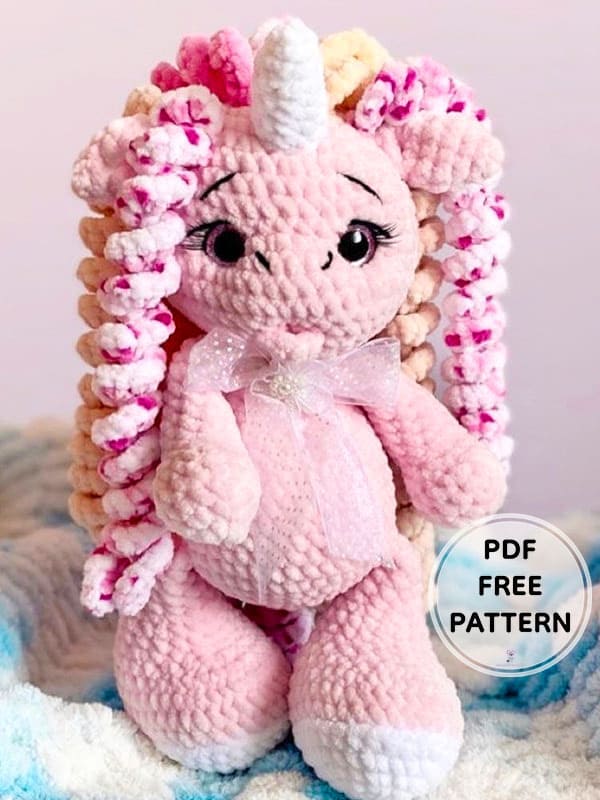
Hello everyone, my friends who love amigurumi, today I brought a crochet unicorn amigurumi pattern for you. First of all, I would like to thank the owner of the pattern. She has created a wonderful crochet unicorn amigurumi toy. Thanks to the step by step detailed crochet unicorn pattern instruction, you can complete the amigurumi toy without difficulty. It is an easy amigurumi pattern for beginners. Take a look at the pattern instructions right now to make a fluffy crochet unicorn playmate for your kids. Don’t forget to follow us for more crochet free amigurumi patterns.
Crochet Unicorn PDF Amigurumi Free Pattern
Designer: yuni.toys
Materials
• Yarn Himalaya Dolphin Baby 100g/120m – 1 skein of main color and some additional colors, leftovers can be used
• Yarn Art jeans 50gr/160m for embroidery of eyebrows and nose, black, for tightening the muzzle-white
• Hook 4.0mm
• Eyes 16 mm
• Cilia
• Glue moment transparent
• Filler
• Scissors
• Sewing pins for securing small parts before sewing
• Marker or contrasting thread to mark a new row
• Needle with a wide eye
• Any thin knitting needles for uniform fixation of the head before sewing to the body
Abbreviations
MR: Magic ring
Inc: Increase
Dec: Decrease
Ch: Chain
Sc: Single crochet
Slst: Slip stitch
Unicorn height: 25 cm
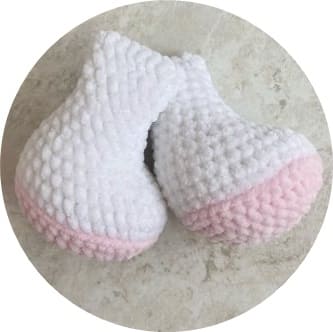
Legs (Make 2)
We start crocheting with an additional color:
Rnd 1. Cast on 7 ch, from the second loop from the hook: 5 sc, 3 sc (in 1 loop), 4 sc, inc (14)
Rnd 2. inc, 4 sc, 3 inc, 4 sc, 2 inc (20)
Rnd 3. 1 sc, inc, 4 sc, (1 sc, inc) * 3, 4 sc, (1 sc, inc) * 2 (26)
Rnd 4. 2 sc, inc, 4 sc, (1 sc, inc) * 3, 4 sc, (1 sc, inc) * 2 (32)
Rnd 5. 3 sc, inc, (7 sc, inc) * 3, 4 sc (36)
Change the thread to the main color
Rnd 6. We crochet behind the back wall 36 sc.
Rnd 7-8. 36 sc (2 rows)
Rnd 9. 10 sc, dec, 14 sc (30)
Rnd 10. 7 sc, dec, 11 sc (24)
Rnd 11. (2 sc, dec) * 6 (18)
Rnd 12-13. 18 sc (2 rows)
At this stage, we stuff the leg. With the help of the filler, we give it a more rounded shape. We stuff the leg tightly.
Rnd 14. (2 sc, dec) * 4, 2 sc (14)
Rnd 15-18. 14 sc (4 rows)
Lightly fill the leg with filler up to about 14-15 rows, so that the leg looks beautiful! We crochet +1 sc, fold the edges together and crochet 7 sc. Fasten the thread and cut.
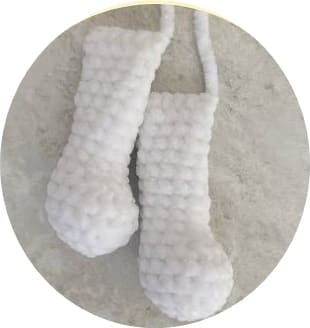
Handles (Make 2)
And crochet with the main color.
Rnd 1. 6 sc in MR (6)
Rnd 2. 6 inc (12)
Rnd 3. (3 sc, inc) * 3 (15)
Rnd 4-5. 15 sc (2 rows)
Rnd 6. 4 sc, 3 dec, 5 sc (12)
Rnd 7. 4 sc, 2 dec, 4 sc (10)
Rnd 8-16. 10 sc (9 rows)
Fill only the lower part of the handle with filler! crochet +1 sc, then fold in half and crochet together 5 sc. Fasten the thread and cut.
Ears (Make 2)
Ears are crocheted with the main color.
Rnd 1. 5 sc in MR (5)
Rnd 2. 5 sc
Rnd 3. 5 inc (10)
Rnd 4. 10 sc
Rnd 5. (3 sc, dec) * 2 (8)
Rnd 6. 8 sc
Fold the edges together and crochet 4 sc, then fold in half again and crochet 2 slst. Leave a long tail for sewing.
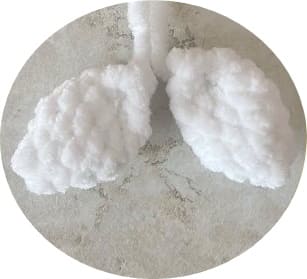
Rnd 1. 4 MR
Rnd 2. 4 inc (8)
Fasten the thread. Leave a long tail for sewing.
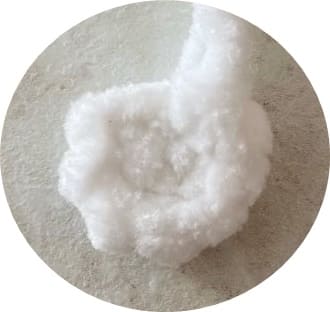
Horn
We crochet with an additional color.
Rnd 1. 4 MR
Rnd 2. (1 sc, inc) * 2 (6)
Rnd 3-4. 6 sc
Rnd 5. (2 sc, inc) * 2 (8)
Rnd 6. 8 sc
Rnd 7. (3 sc, inc) * 2 (10)
Rnd 8. 10 sc
Crochet slst, fill with filler. Fasten the thread, leave a long end for sewing.
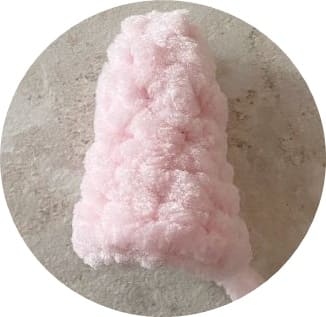
Body
We crochet with the main color.
Rnd 1. 6 MR
Rnd 2. 6 inc (12)
Rnd 3. (1 sc, inc) * 6 (18)
Rnd 4. 1 sc, inc, (2 sc, inc) * 5, 1 sc (24)
Rnd 5. (3 sc, inc) * 6 (30)
Rnd 6. 2 sc, inc, (4 sc, inc) * 5, 2 sc (36)
Rnd 7. (5 sc, inc) * 6 (42)
In the next row we crochet legs.
Rnd 8. 7 sc, 7 sc (leg), 14 sc, 7 sc (leg), 7 sc (42)
Rnd 9-13. 42 sc (5 rows)
Rnd 14. 16 sc, 6 dec, 14 sc (36)
Rnd 15. 36 sc
Rnd 16. (4 sc, dec) * 6 (30)
Rnd 17. (3 sc, dec) * 6 (24)
Rnd 18. 24 sc
Rnd 19. (2 sc, dec) * 6 (18)
Rnd 20. 18 sc
In the next row we crochet handles.
Rnd 21. 4 sc, 5 sc (handle), 4 sc, 5 sc (handle)
Cut the thread, leave a long end for sewing the head to the body.
Fill with filler, highlight the belly.
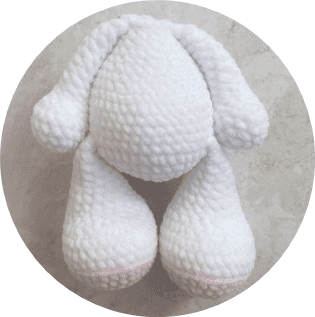
Head
We crochet with the main color.
Rnd 1. 6 MR
Rnd 2. 6 inc (12)
Rnd 3. (1 sc, inc) * 6 (18)
Rnd 4. 1 sc, inc, (2 sc, inc) * 5, 1 sc (24)
Rnd 5. (3 sc, inc) * 6 (30)
Rnd 6. 2 sc, inc, (4 sc, inc) * 5, 2 sc (36)
Rnd 7. (5 sc, inc) * 6 (42)
Rnd 8-10. 42 sc (3 rows)
Rnd 11. 18 sc, 6 inc, 18 sc (48)
Rnd 12-14 48 sc (3 rows)
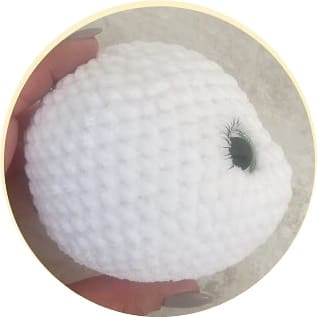
At this stage, insert the eyes in the 12th row, the first eye in the column before the first increase and the second in the column after the sixth increase.
Rnd 15. (6 sc, dec) * 6 (42)
Rnd 16. 42 sc
Rnd 17. (5 sc, dec) * 6 (36)
Rnd 18. (4 sc, dec) * 6 (30)
Rnd 19. (3 sc, dec) * 6 (24)
Rnd 20. (2 down, down) * 6 (18)
Rnd 21. (1 sc, dec) * 6 (12)
Rnd 22. 6 dec
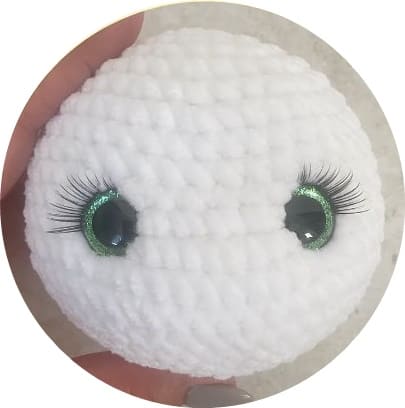
We fill the head with filler, select the spout Pull the hole, cut the thread and hide it inside the head.
Hair (Make 10)
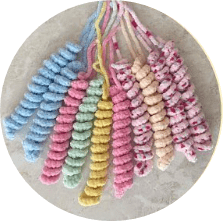
We collect a chain of 50 ch, starting from 2 from the hook of the loop, we crochet 3 sc in each ch. In the very last loop we crochet a connecting column. We fasten the thread and cut it off. Leave a long end for attaching to the head.
Tail (Make 5)
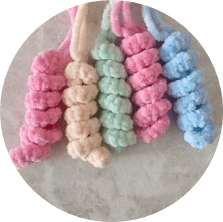
We collect a chain of 25 ch, starting from 2 from the hook of the loop, we crochet 3 sc in each ch. In the very last loop we crochet a connecting column. We fasten the thread and cut it off. Leave a long end for attaching to the head.
Decoration and assembly
We start with tightening the mouth and nose,
• We outline the mouth with sewing pins between 17 and 18 next, we outline where We will make the nose tightening between 10 and 11 next.
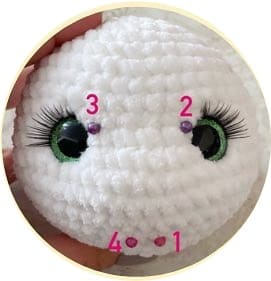
• We insert the needle at point 1, withdraw at point 2, then insert at point 3 and withdraw at point 4. Tighten the thread well and hide it inside the head.
• After we have done the tightening of the nose, we proceed to the tightening of the eyes with the help of YarnArt jeans or its analogues.
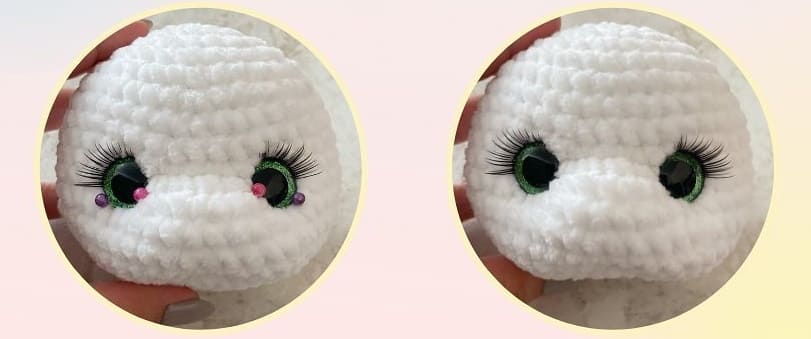
• We sew the mouth at the level of the 17th and 18th rows, where the tightening was done.
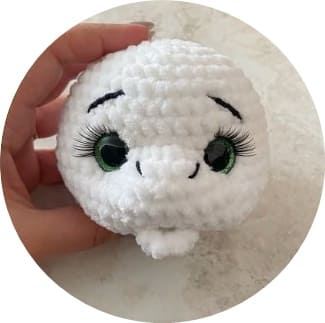
• We embroider eyebrows at the level of 7 and 9 rows.
• We embroider the spout at the level of the 12th row.
• Using thin crocheting needles, we evenly fix the head and sew.
• We sew the horn at the level of 3 and 6 rows.
• Ears are sewn at the level of the 6th row.


 Bear
Bear Bunny
Bunny Cat
Cat Christmas
 Crochet doll
 Deer
Deer Other animals

