Hello to everyone who loves amigurumi,
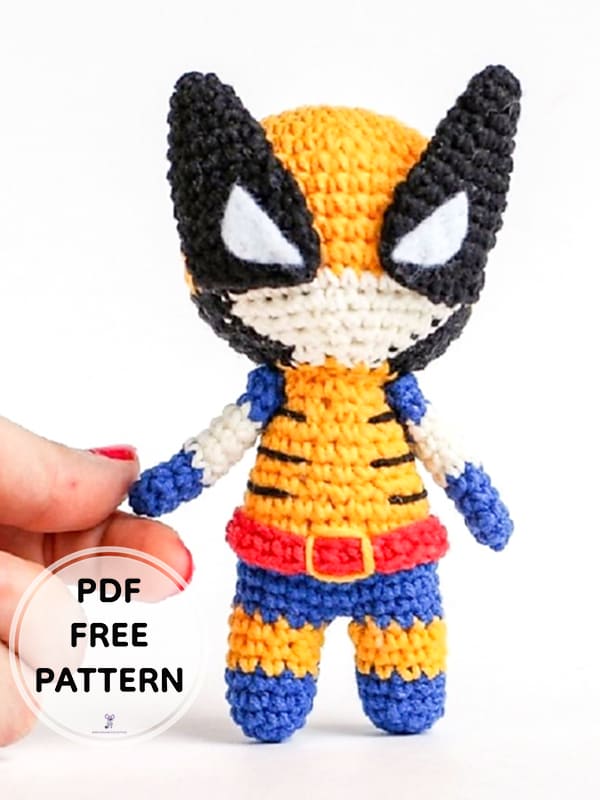
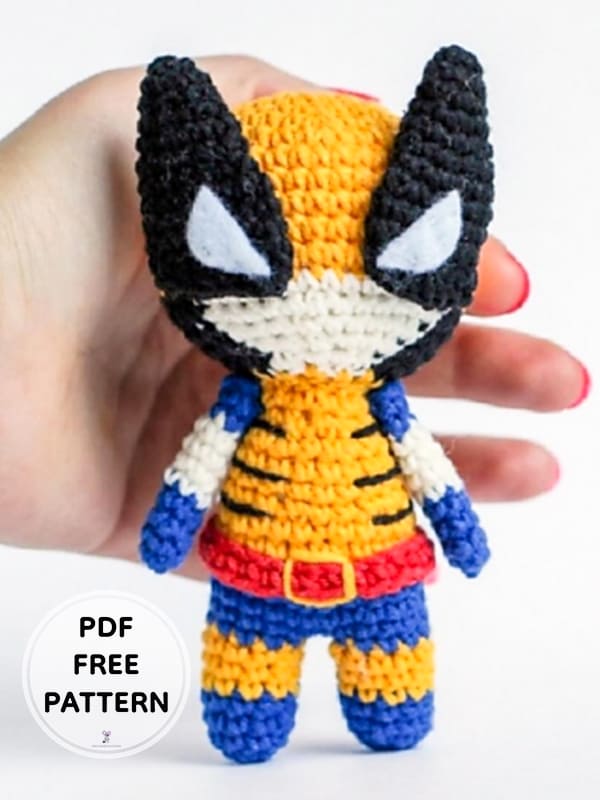
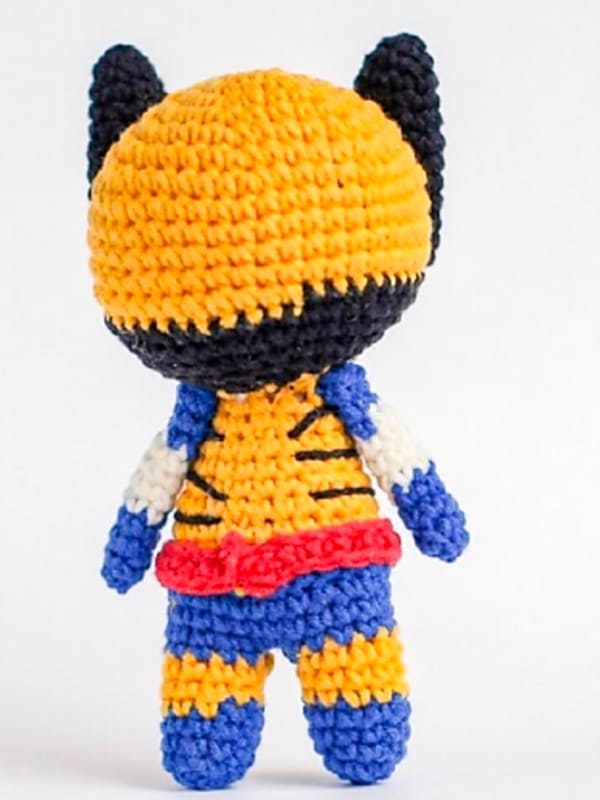
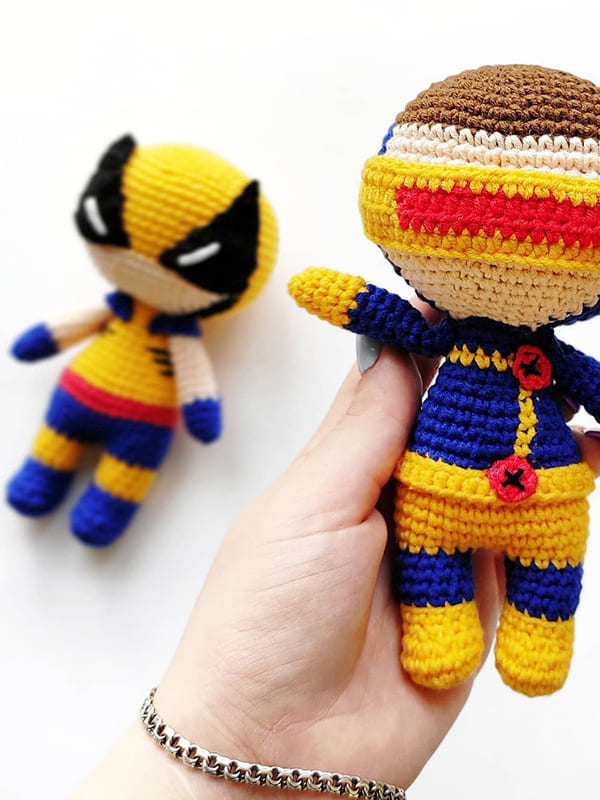
Today I shared the X-men character for you. The amigurumi Wolverine pattern is very easy to crochet step by step. Amigurumi doll will be 13 cm in size when completed. You can make crochet amigurumi pattern in different colors. The amigurumi doll is crocheted in the same colors as the X-men movie character. You can crochet the free amigurumi Wolverine pattern for kids. For your loved ones who are fans of X-men movies, you can surprise them by crocheting an amigurumi doll. Let’s start crocheting from the legs to make an amigurumi doll. Without cutting the threads, we continue the body part. We crochet the arms and head separately. Let’s sew the completed parts to the body part. You can crochet the belt part and the eyes in different colors. Thank you to the creator of the amigurumi doll. Don’t forget to add to your favorite list and share.
PDF Crochet Little Wolverine Amigurumi Free Pattern
Designer: tanyaasmile
Materials
• The hook suitable under your yarn. I have Clover Soft Touch 2.00 mm.
• Yarn: yellow, beige, black, red and blue colors.
I used «YarnArt Jeans» yarn (160m in 50g, 55% cotton/45% polyacryl).
• White felt (eyes).
• White thin sewing thread.
• Toys filler.
• Scissors.
• Tapestry needle.
• Pins.
• Stitch marker.
Abbreviations
MR – magic ring
Sc – single crochet
Ch – chain stitch
Slst – slip stitch
BLO – through back loops only
Inc – increase (stitch 2 times into the next stitch)
Dec – invisible decrease (crochet 2 sc together using invisible method)
Dc – double crochet
Hdc – half double crochet
(…)х n – repeat instructions in brackets n times
Rnd – round.
Change colors in crochet. Loop your new yarn color over your hook.
Crochet your new yarn color back through the two loops on your hook.

Notes
• Crochet continuously in a spiral, unless otherwise specified.
• In order to not lose track of the number of worked stitches in each round, use a stitch marker to mark the beginning of each round – a thin thread of contrasting color.
• Crochet tightly enough so the filler is not visible through the holes between loops.
• Tightly and gradually fill all the details of the toy in the process of crocheting.
• Size of the finished toy can vary depending on the materials used, the density of crocheting and filling, etc.
*Stuff legs and body firmly, stuffing as you go.
Let’s start crocheting the Amigurumi Wolverine pattern 🙂
Leg 1
Start working with blue yarn
Rnd 1. 5 sc MR (5)
Rnd 2. 5 inc (10)
Rnd 3-5. 10 sc (10)
Continue on with yellow
Rnd 6-8. 10 sc (10)
Close and break the yarn.
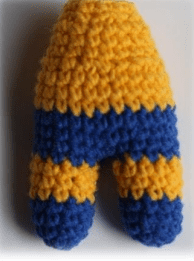
Let’s crochet the legs of the amigurumi toy. Let’s continue the body part without cutting the threads 🙂
Leg 2+ Body
Start working with blue yarn
Rnd 1. 5 sc MR (5)
Rnd 2. 5 inc (10)
Rnd 3-5. 10 sc (10)
Continue on with yellow
Rnd 6-8. 10 sc (10) Continue on with blue.
Crochet 2 sc. Move the marker to the last loop. Stuff the legs.
Now we will start with the body.
Rnd 9. 2 ch, 10 sc, 2 sc, 10 sc (24) *Chain 2 and join LEG 1. Crochet 10 sc on leg 1 and then crochet 2 sc on one of the sides of the 2- ch-chain. Now crochet 10 sc on leg 2, total 24 loops.

Rnd 10-12. 24 sc (24) Stuff the body.
Continue on with yellow
Rnd 13-15. 24 sc (24)
Rnd 16. (2 sc, dec)x6 (18)
Rnd 17-19. 18 sc (18)
Rnd 20. (1 sc, dec)x6 (12)
Rnd 21. 12 sc (12)
Cut the yarn.
Stuff the body firmly.
Let’s crochet the arms of the Amigurumi Wolverine pattern 🙂
Arm x2
Crochet with blue yarn
Rnd 1. 6 sc MR (6)
Rnd 2-4. 6 sc (6)
Continue on with beige
Rnd 5-8. 6 sc (6)
Continue on with blue
Rnd 9-11. 6 sc (6)
Do not stuff of the arm. Close.
Break the yarn and leave a long tail to sew arms to body.
Let’s crochet the head of the Amigurumi Wolverine toy 🙂
Head
Crochet with yellow yarn
Rnd 1. 6 sc MR (6)
Rnd 2. 6 inc (12)
Rnd 3. (1 sc, inc)x6 (18)
Rnd 4. (2 sc, inc)x6 (24)
Rnd 5. (3 sc, inc)x6 (30)
Rnd 6. (4 sc, inc)x6 (36)
Rnd 7. (5 sc, inc) x6 (42)
Rnd 8-12. 42 sc (42)
Continue on with black
Rnd 13. 13 sc, change color to beige, 14 sc, change color to black 15 sc (42)

Rnd 14. 5 sc, dec, 5 sc, change color to beige, dec, 5 sc, dec, 5 sc, change color to black, dec, 5 sc, dec, 5 sc, dec (36)
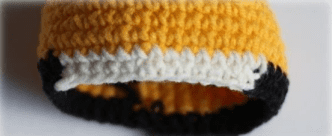
Rnd 15. 4 sc, dec, 4 sc, dec, change color to beige, 4 sc, dec, 4 sc, change color to black, dec, 4 sc, dec, 4 sc, dec (30)
Rnd 16. 3 sc, dec, 3 sc, dec, 1 sc, change color to beige, 2 sc, dec, 3 sc, change color to black, dec, 3 sc, dec, 3 sc, dec (24)
Rnd 17. 2 sc, dec, 2 sc, dec, 1 sc, change color to beige, 1 sc, dec, 2 sc, change color to black, dec, 2 sc, dec, 2 sc, dec (18)
Continue on with yellow
Rnd 18. (1 sc, dec)x6 (12)
Add stuffing. Leave the thread for sewing.
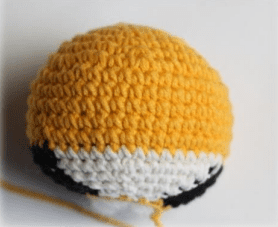
Let’s crochet the belt of the free amigurumi pattern 🙂
Belt
Crochet with red yarn
Rnd 1. 26 ch, starting from second ch from hook 25 sc
Leave the thread for sewing.
Let’s crochet the eyes of the Amigurumi Wolverine pattern 🙂
Eye 1
Crochet with black yarn
Rnd 1. 4 sc MR (4)
Rnd 2. 4 inc (8)
Rnd 3-4. 8 sc (8)
Rnd 5. (1 sc, inc)x4 (12)
Rnd 6-7. 12 sc (12)
Rnd 8. 5 sc, inc, 6 sc (13)
Rnd 9. 5 sc, inc, 7 sc (14)
Rnd 10-11. 14 sc (14)
Rnd 12. 4 sc, 7 dc, 3 sc (14)
Leave the thread for sewing.
Eye 2
Crochet with black yarn
Rnd 1. 4 sc MR (4)
Rnd 2. 4 inc (8)
Rnd 3-4. 8 sc (8)
Rnd 5. (1 sc, inc)x4 (12)
Rnd 6-7. 12 sc (12)
Rnd 8. 6 sc, inc, 5 sc (13)
Rnd 9. 7 sc, inc, 5 sc (14)
Rnd 10-11. 14 sc (14)
Rnd 12. 3 sc, 7 dc, 4 sc (14)
Leave the thread for sewing.
Assembly
1. Sew the head to a body. *I recommend to use a secret seam. For stability, I stitch around two times. Do not forget to add a little fiberfill to make sure there are no gaps.
2. Sew belt.
3. Make strips with black thread.
4. Sew arms.
5. Sew black eyes. Cut out two eyes from white felt. Sew with thin white sewing thread.
6. Embroider with yellow thread an fastener.
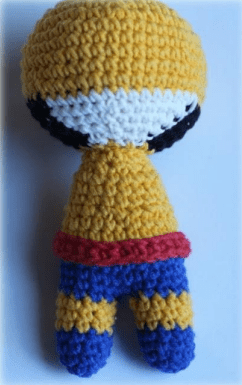
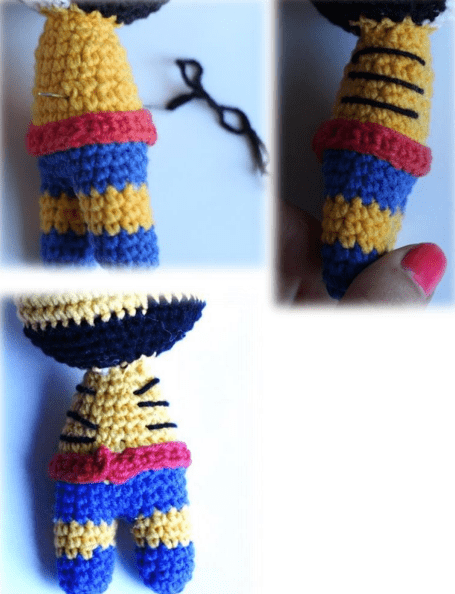
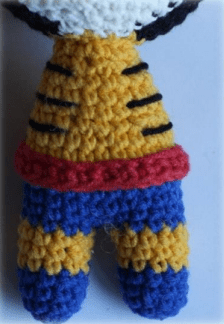
Congratulations, you have completed the amigurumi Wolverine pattern. 🙂


 Bear
Bear Bunny
Bunny Cat
Cat Christmas
 Crochet doll
 Deer
Deer Other animals

