Hello everyone friends,
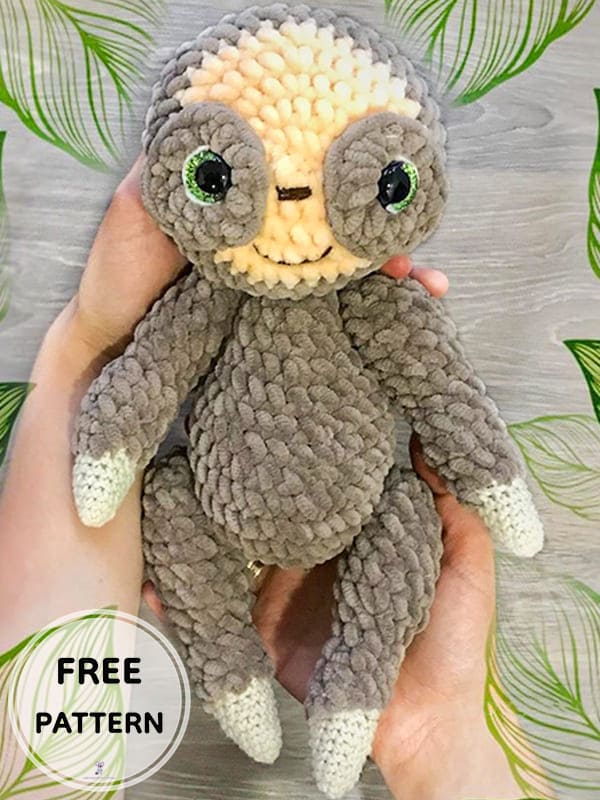
Today I will share with you a very cute crochet amigurumi pattern. First of all, I would like to thank the owner of the pattern for providing it to us for free. It is a beautiful pattern for beginner amigurumi lovers, it is very easy to make. Thanks to the step by step crochet pattern instructions, you will complete it quickly. You can get a softer amigurumi toy by making a crochet sloth amigurumi toy from plush yarn. You can give them a nice surprise by completing this cute crochet sloth amigurumi toy that your kids will love. Stay tuned for more free crochet amigurumi patterns.
Crochet Plush Sloth PDF Amigurumi Free Pattern
Designer: my.plush
Necessary materials
• Plush yarn in the main color (Himalaya Dolfin Baby, YarnArt Dolce gray, brown) – one skein
• Beige plush yarn – a little for the head 10 gr
• Kartopu Amigurumi (or similar) color milky 025- 10 gr
• Hooks suitable for yarn
• Screw eyes (16 mm)
• Filler holofiber
• Thread, sewing needle, scissors
• A little brown and white floss or similar yarn
• Kartopu Amigurumi for eyes, nose and mouth.
• The size of the finished crochet sloth amigurumi is approximately 25 cm.
Abbreviations
MR- Magic ring
Sc- Single crochet
Ch- Chain
Inc- Increase
Dec- Decrease
Sl st- Slip stitch
Hdc- Half double crochet
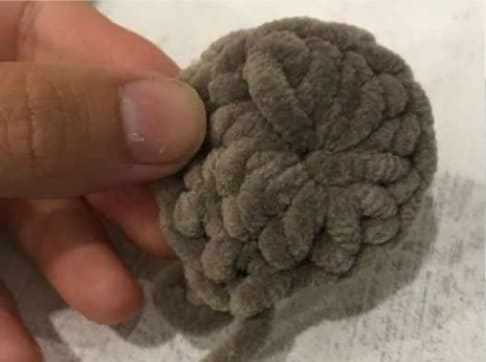
Circles under the eyes (2 parts)
Rnd 1. 4 ch, we close the ring sl st, 2 ch turning chain stitch
Rnd 2. to the central part 12 Hdc
Rnd 3. 6 sc, sl st
Cut the thread and hide.
Head
Starting with beige yarn.
Rnd 1. 6 ch, from the 2nd loop from the hook 4 sc, 3 sc in 1 loop, on the second side 3 sc, inc – 12
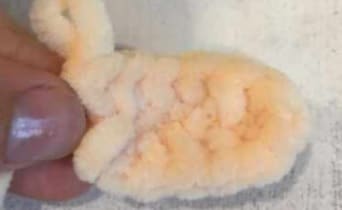
Rnd 2. inc, 3 sc, 3 inc, 3 sc, 2 inc – 18
Rnd 3. sc, inc, 3 sc, (sc, inc)*3, 3 sc, inc, sc, inc – 24
Rnd 4. 2 sc, inc, 4 sc, (2 sc, inc)*3, 4 sc, inc,2 sc, inc – 30
Rnd 5. 3 sc, inc, 5 sc, (3 sc, inc)*3, 5 sc, inc,3 sc, inc – 36
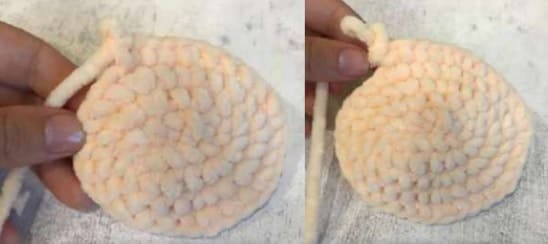
We change to the yarn of the main color, so that the transition is less noticeable, crochet to the side and then change the thread to the main color.
Rnd 6-9. 36 sc
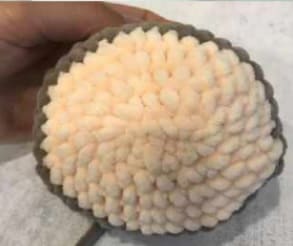
To make the head oval, the reductions in the following rows should be on the sides. The beginning of the row is in the front in the middle.
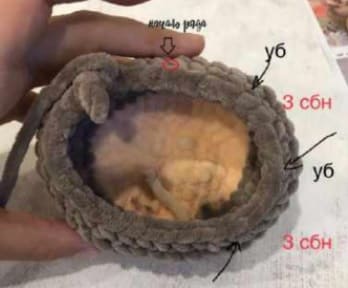
Rnd 10. 3 sc, (3 sc, dec)*3, 3 sc, (3 sc, dec)*3 – 30
Rnd 11. 3 sc, (2 sc, dec)*3, 3 sc, (2 sc, dec)*3 – 24
Rnd 12. 3 sc, (sc, dec)*3, 3 sc, (sc, dec)*3 – 18
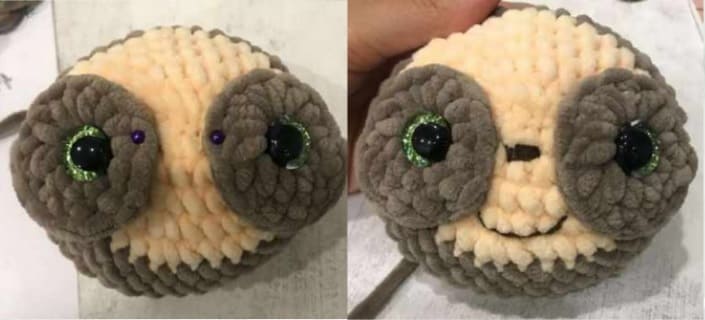
We begin to make out the muzzle, fasten circles under the eyes. See the design of the muzzle. After registration, we fill.
Rnd 13. 3 sc, 3 dec, 3 sc, 3 dec – 12
Filling up to the end
Rnd 14. 6 dec- 6
Cut the thread, tighten the hole, fasten the thread.
Making a muzzle
We insert eyes into the center of the circles under the eyes (the most part where we crocheted 6 sc is at the bottom), fasten at the level of the 3rd row, snap the eyes.
Sew circles under the eyes with a thread to match the main yarn.
We embroider a spout with a brown floss thread at the level of the second row.
At the level of 4-5 rows we embroider a mouth.
We embroider squirrels with white thread.
Body
Rnd 1. 6 sc in MR
Rnd 2. 6 inc – 12
Rnd 3. (sc, inc)*6 – 18
Rnd 4. (2 sc, inc)*6 – 24
Rnd 5. (3 sc, inc)*6 – 30
Rnd 6. (4 sc, inc)*6 – 36
Rnd 7-8. 36 sc
Rnd 9. 12 sc, 6 dec, 12 sc – 30
Rnd 10. 30 sc
Rnd 11. (3 sc, dec)*6 – 24
Rnd 12. 24 sc
Rnd 13. (2 sc, dec)*6 – 18
Rnd 14. 18 sc
We fill
Rnd 15. (sc, dec)*6 – 12
Rnd 16-17. 12 sc
Rnd 18. 6 dec -6
Cut the thread, tighten the hole.
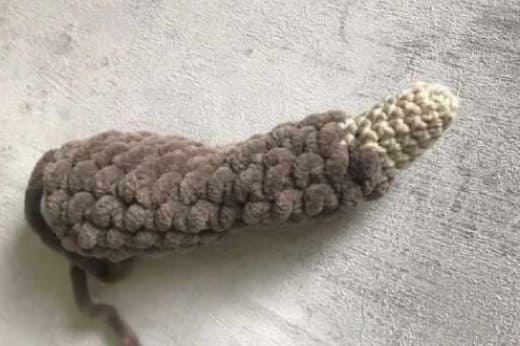
Upper paw (2 parts)
We start with a milky semi-cotton thread.
Rnd 1. 6 sc in MR
Rnd 2. 6 sc
Rnd 3. (sc, inc)*3 – 9
Rnd 4-5. 9 sc
Rnd 6. inc, 8 sc – 10
Rnd 7-8. 10 sc
We change the thread to a plush of the main color, we crochet the first row with a crochet hook for semi-cotton yarn (No: 3).
Rnd 9. 3 sc, dec, 3 sc, dec – 8
Rnd 10-11. 8 sc
Rnd 12. inc, 3 sc, dec, 2 sc – 8
Rnd 13. 4 sc, dec, 2 sc – 7
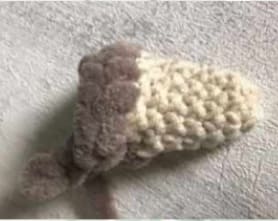
We stuff
Rnd 14. 5 sc, dec – 6
Rnd 15. inc, 4 sc, inc – 8
Rnd 16. sc, inc, 5 sc, inc – 10
Rnd 17. 9 sc, inc – 11
Rnd 18-20. 11 sc
Rnd 21. 3 sc, dec, 4sc, dec – 9
Rnd 22. (sc, dec)*3 – 6
Cut the thread and tighten.
Lower paw (2 parts)
We start with a milky semi-cotton thread.
Rnd 1. 6 sc in MR
Rnd 2. (sc, inc)*3 – 9
Rnd 3-5. 9 sc
Rnd 6. (2 sc, inc)*3 – 9
Rnd 7-9. 12 sc
Change the thread to plush
Rnd 10. (2 sc, dec)*3 – 9
Rnd 11. 9 sc
Rnd 12. dec, 7 sc – 8
Rnd 13. dec, 6 sc – 7
Rnd 14. 7 sc
Rnd 15. inc, 1 sc, inc, 4 sc – 9
Rnd 16. (2 sc, inc)*3 – 12
Rnd 17-20. 12 sc
Rnd 21. (2 sc, dec)*3 – 9
We fill
Rnd 22. (sc, dec)*3 – 6
Cut the thread, tighten the hole.
Assembly
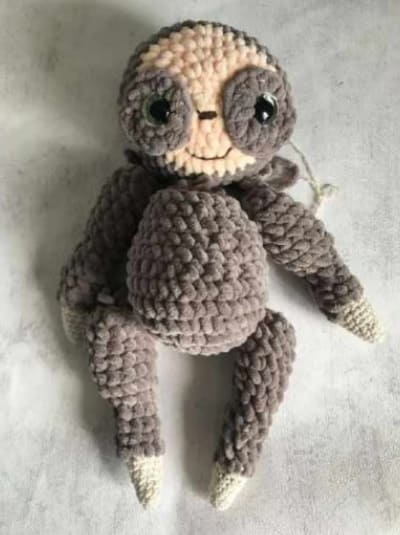
Sew the head to the body.
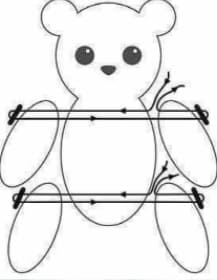
Attach the paws using a button mount (as shown in the picture) or simply sew on.
We fasten the lower paws at the level of the 5th row, the upper ones at the level of the 17th row.


 Bear
Bear Bunny
Bunny Cat
Cat Christmas
 Crochet doll
 Deer
Deer Other animals

